|
NickZ
|
 |
« Reply #140 on: January 19, 2014, 05:50:07 PM » |
|
Starting to put things back in. steering column in these are bloody long, Ive never driven a FC only EK, i guess i wont have my arms stretched out. Pedal assembly,Hand brake, Brake booster and master and bonnet hinges. Ill start on the wiring through the week. Oh and the bloody drag link is still hitting on the sump at full lock. 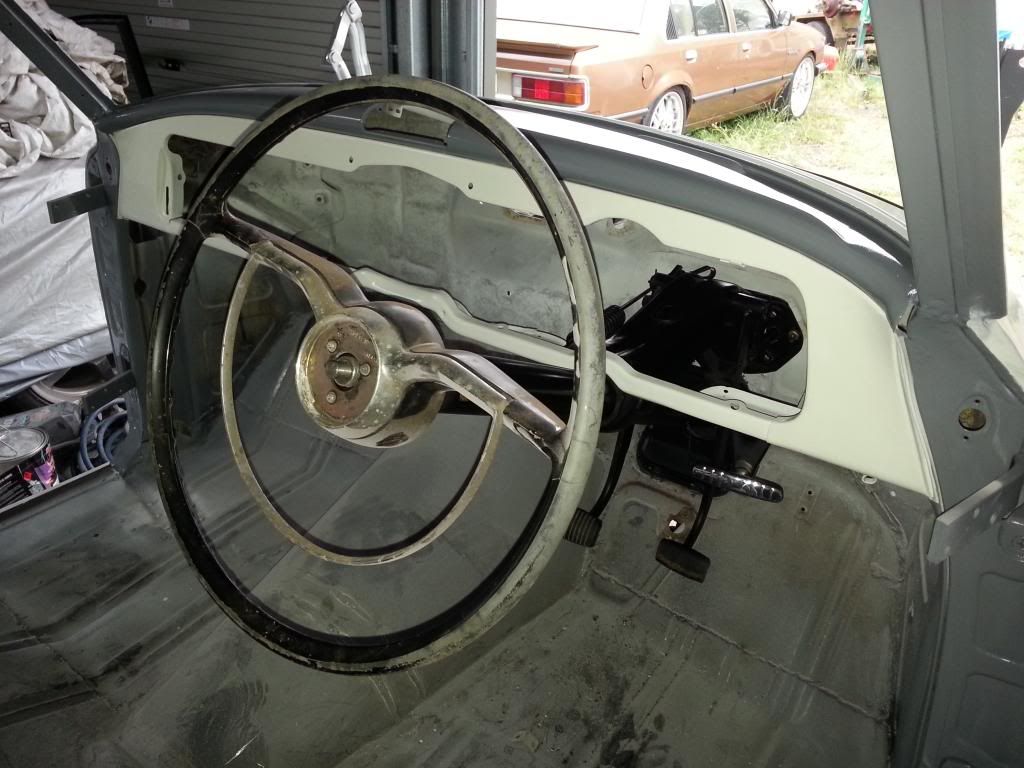 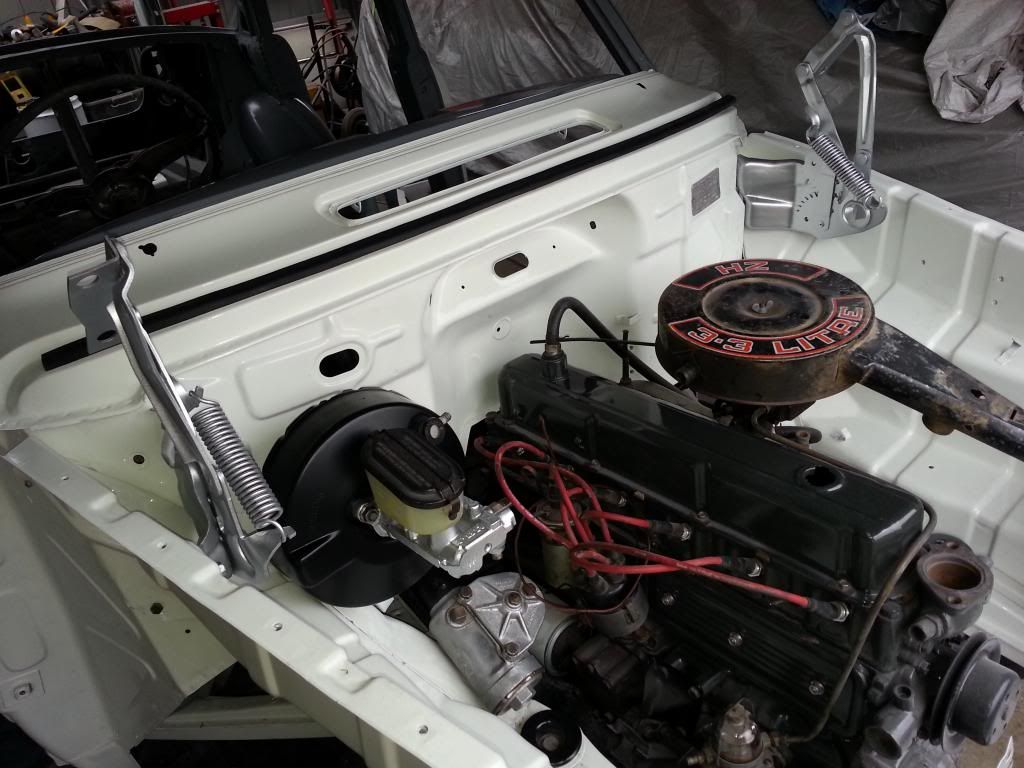 |
|
|
|
|
 Logged
|
|
|
|
|
NickZ
|
|
« Reply #141 on: January 19, 2014, 07:52:53 PM » |
|
What are people using for the honey pot on the column when going to floor shift.
|
|
|
|
|
Logged
|
|
|
|
|
FCRB26
|
|
« Reply #142 on: January 20, 2014, 06:51:30 AM » |
|
I cut it off and welded it up.
|
|
|
|
|
Logged
|
|
|
|
|
hsv-001
|
|
« Reply #143 on: January 20, 2014, 08:08:00 AM » |
|
Just a couple of ideas ,EK-FB steering columns are a good fit and a few inches shorter and if your not going original with gear lever, a better option [middle age spread gets us all] .If your not polishing the coffee pot then you could just cut the lumps off and use body filler then paint it black { sorry a rolling stones moment } .Haydn
|
|
|
|
|
Logged
|
|
|
|
|
fcwrangler
|
|
« Reply #144 on: January 20, 2014, 08:33:46 AM » |
|
A mate of mine did this a couple of years ago on an FB cut it off and smoothed it then filled the hole with fibrenicky which is much stronger than the normal. If you do it this way, remove the steering wheel and push an oily rag down to cover the inside to stop excess oozing through.
Jim
|
|
|
|
|
Logged
|
on the seventh day: God Made Holden
|
|
|
|
NickZ
|
|
« Reply #145 on: January 26, 2014, 09:46:36 AM » |
|
Had to make a decision on entering the Nat's, I don't think I'm far enough along to enter. I'm going to keep at it and if I get it finished I'll drive it to Hobart and check you all out.
We will make plans for the next one. Does any body know where it will be?
|
|
|
|
|
Logged
|
|
|
|
|
fcwrangler
|
|
« Reply #146 on: January 26, 2014, 10:29:16 AM » |
|
I believe it will be Toowoomba Queensland.
Jim
|
|
|
|
|
Logged
|
on the seventh day: God Made Holden
|
|
|
|
NickZ
|
|
« Reply #147 on: February 02, 2014, 08:37:55 PM » |
|
Are there any different front door hinges or is there a difference from top and bottom? My passenger door doesn't fit, Bottom is fine but the top sits out a lot. Ive already had to redrill the top hing holes to be able to move it forward enough too. 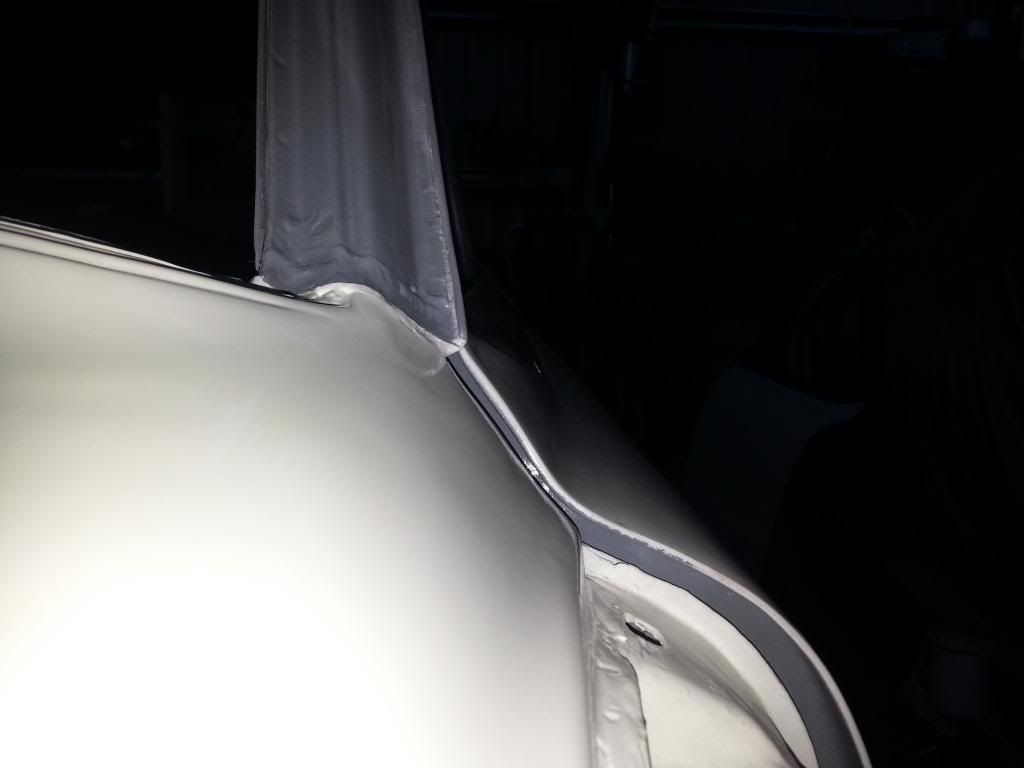 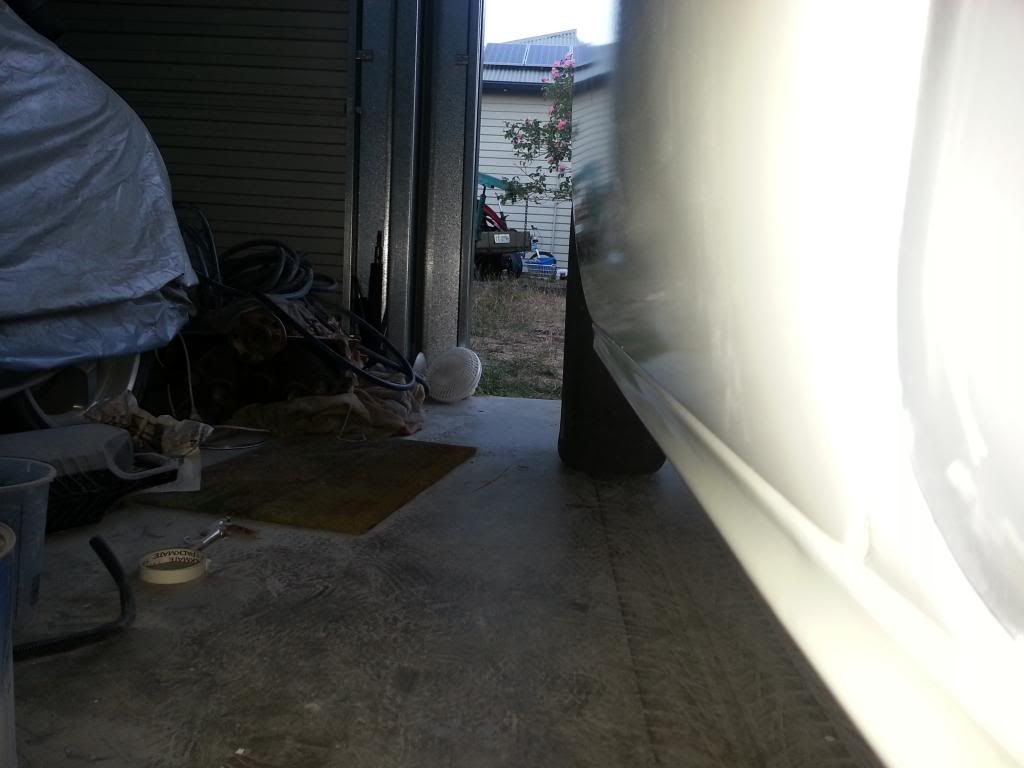 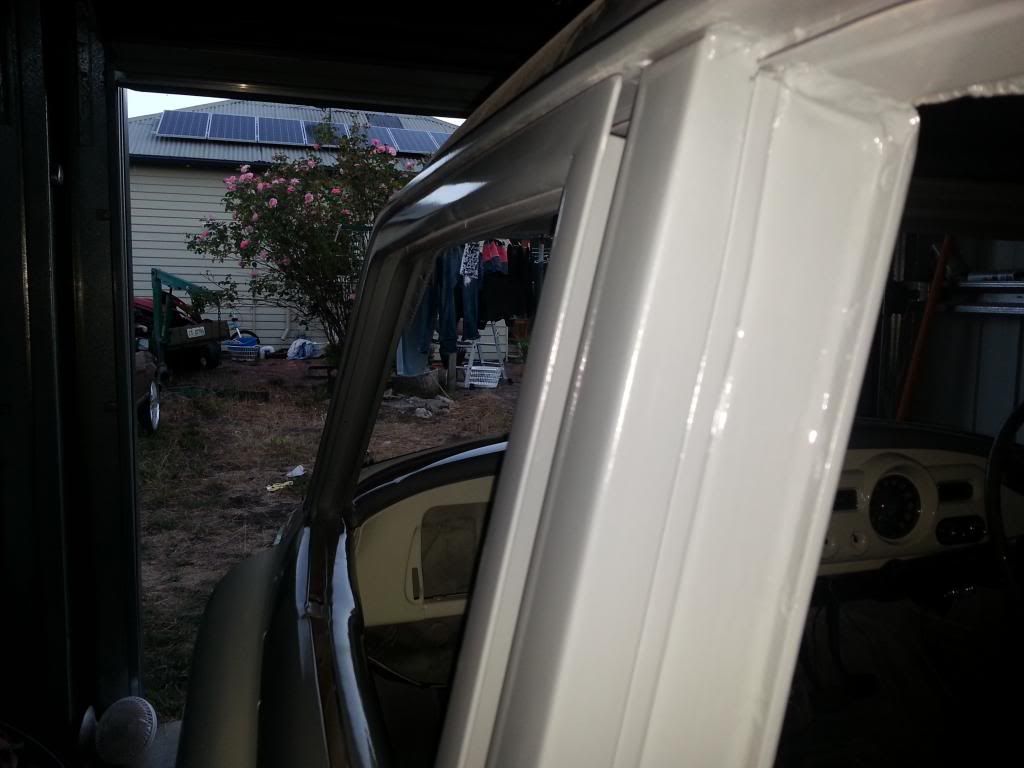 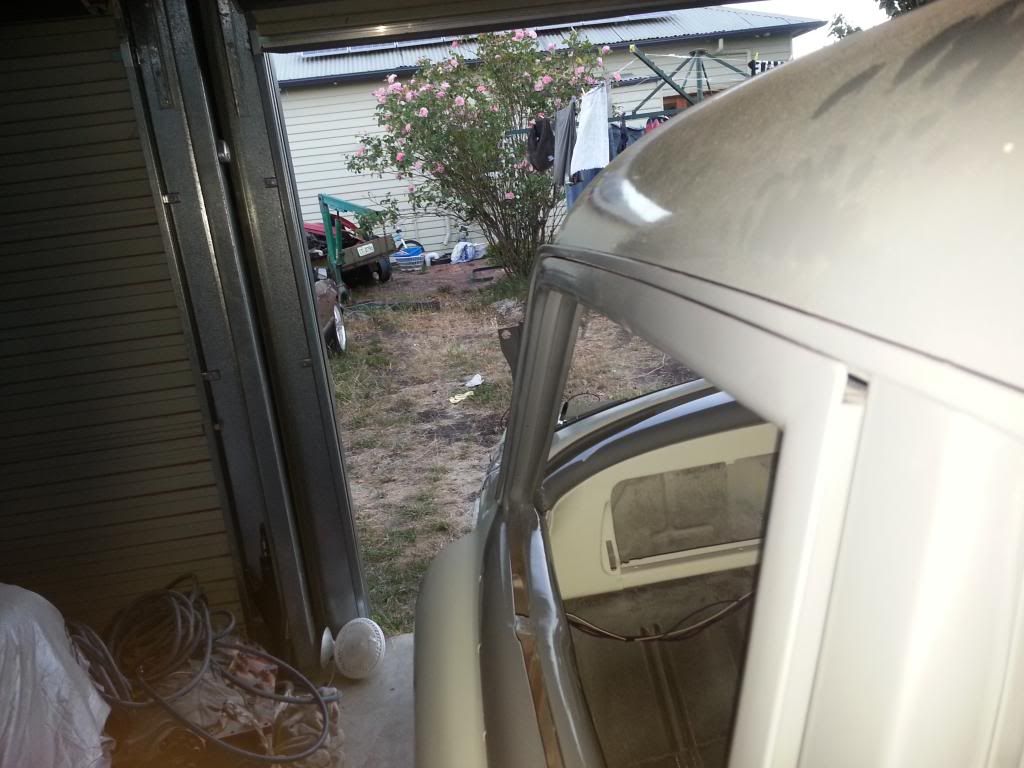 |
|
|
|
|
Logged
|
|
|
|
|
FCRB26
|
|
« Reply #148 on: February 02, 2014, 08:49:06 PM » |
|
Have you seen how the adjusted them back in the day ?
Not pretty mallets bars anything to man handle into place.
Id say you had a bit of movement with all the repairs.
Pete
|
|
|
|
|
Logged
|
|
|
|
|
mcl1959
|
|
« Reply #149 on: February 02, 2014, 09:22:41 PM » |
|
Basically you have to bend the hinge to move the door out. The trick is to remove the hinge and dismantle it before bending. Draw a template so you can make a judgement of how far you are bending it.
You can do it cold if you have a press, or heat it up if not.
You're first move is that the curve in the hinge needs to be increased. Do one bend compare it to your template of how it was before bending then reassemble it into the car to check your progress.
Ken
|
|
|
|
|
Logged
|
|
|
|
|
hsv-001
|
|
« Reply #150 on: February 02, 2014, 10:12:15 PM » |
|
Before getting too drastic , make sure that the front Phillips head bolt [the one that you can see the end of with the guard off] is all the way home . If its not the hinge will twist in and out and can look a lot like what you have there. If all else fails then the block of wood or the rubber hammer . Cheers Haydn
|
|
|
|
|
Logged
|
|
|
|
|
TTV6FC
|
|
« Reply #151 on: February 03, 2014, 08:31:14 PM » |
|
It helps to be using all the original panels too but often due to condition of originals, panels get swapped out (this all goes without saying I guess).After I had a few fitment problems I realised that not having ALL the screws and bolts in the front hinges did make a difference.I only had minor trouble with the top frame of the rear passenger side door and by putting a piece of 18mm MDF at the top of the front of the frame and closing the door onto it (in the door jamb) fixed it easily.I accidently mixed up the hinges from one door to a changeover door on the drivers side rear door which threw it way out.After inspectiong both hinges they were very different in offset and obviously adjusted differently at production.Cheers,Jamie.
|
|
|
|
|
Logged
|
Run your fingers over my Holden and I'll run my Holden over your fingers!!!!
|
|
|
|
NickZ
|
|
« Reply #152 on: February 03, 2014, 08:41:39 PM » |
|
well im using different hinges and a different door, i didnt think there would be that much difference, but i know how to fix it now.
all i need now is to stop scratching the bloody new paint.
|
|
|
|
|
Logged
|
|
|
|
|
|
customFC
nsw-club
Guru

 Offline Offline
Model: FC
Posts: 5904
Ask me about microwaving cats for fun or profit.

|
|
« Reply #154 on: March 02, 2014, 11:33:27 PM » |
|
Looking good.
Adjust the bonnet by moving it forward on the hinges.
Regards
Alex
|
|
|
|
|
Logged
|
|
|
|
|
NickZ
|
|
« Reply #155 on: March 03, 2014, 07:53:37 AM » |
|
i could but the gap at the rear is just as big.
|
|
|
|
|
Logged
|
|
|
|
|
hsv-001
|
|
« Reply #156 on: March 03, 2014, 09:40:40 AM » |
|
Alex is correct , looking at the photo the bonnet needs to come forward to match the guards . Its always interesting to see how people line up panels on their old girls . My first thought would be to get some masking tape to protect your paintwork . Mask heavy down the front of your doors then remove or loosen your guard bolts including the ones on the pillar then start at the front bolts and work back towards the door . If you get the ones close to the grille pulled up the guard will be pushed back[sometimes too far] so be careful .One more tip when aligning doors I use a milk crate [depends on ride height] with a folded towel on it to take the weight and a piece of old carpet to gap the door off the scuffplate then close the door and climb inside and tighten the hinges and finally adjust the catch .Cheers Haydn
|
|
|
|
|
Logged
|
|
|
|
|
NickZ
|
|
« Reply #157 on: March 10, 2014, 06:57:05 PM » |
|
I fixed the bonnet gap, was the grill shell i had, it was bent, i had two others to try and found the best fitting one. I just have the drivers rear door to do, my buy another one yet. 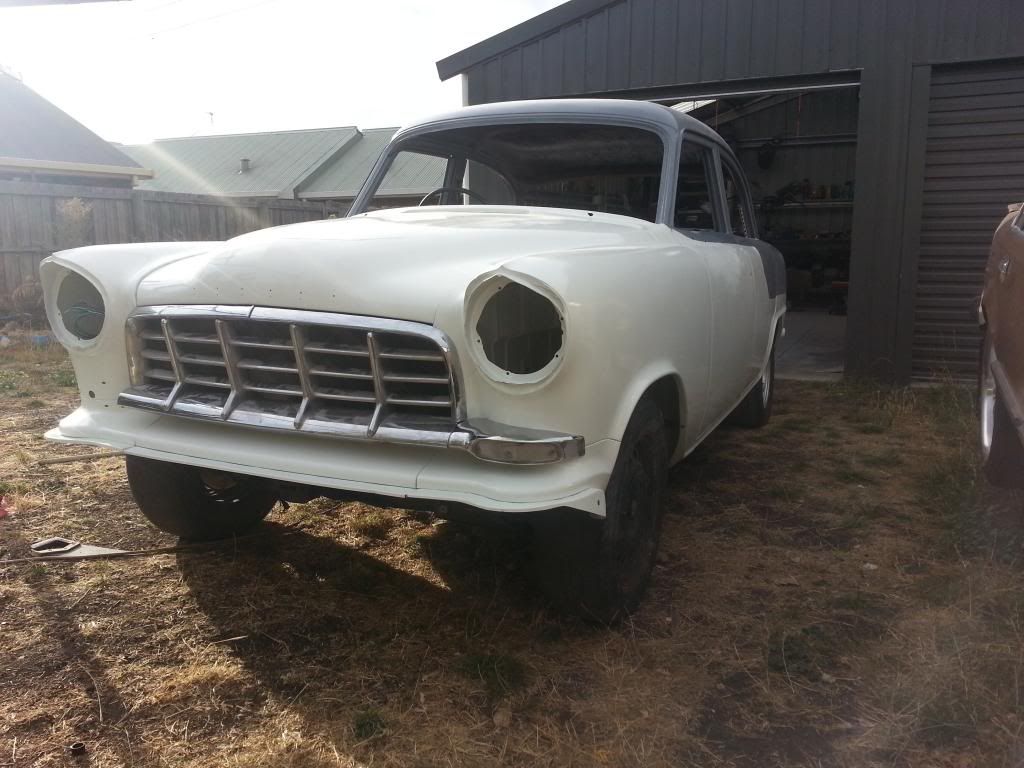 |
|
|
|
|
Logged
|
|
|
|
|
|
|
NickZ
|
|
« Reply #159 on: March 23, 2014, 08:07:04 PM » |
|
|
|
|
|
|
Logged
|
|
|
|
|


