Door button fit up using a Paul Kelly "Smooth Cruizin'" kit.
1) you start with a door, and there is a raised ridge where the handle sits. You need to tap this down.
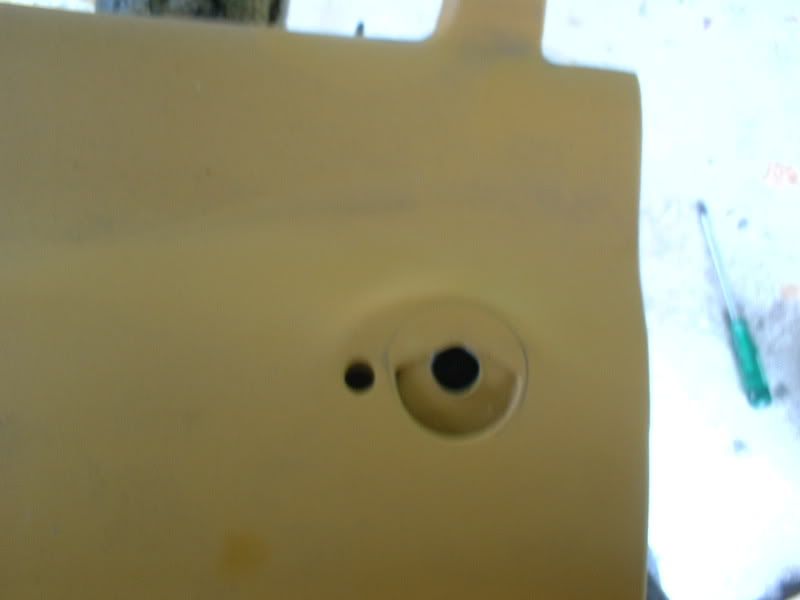
profile before shot
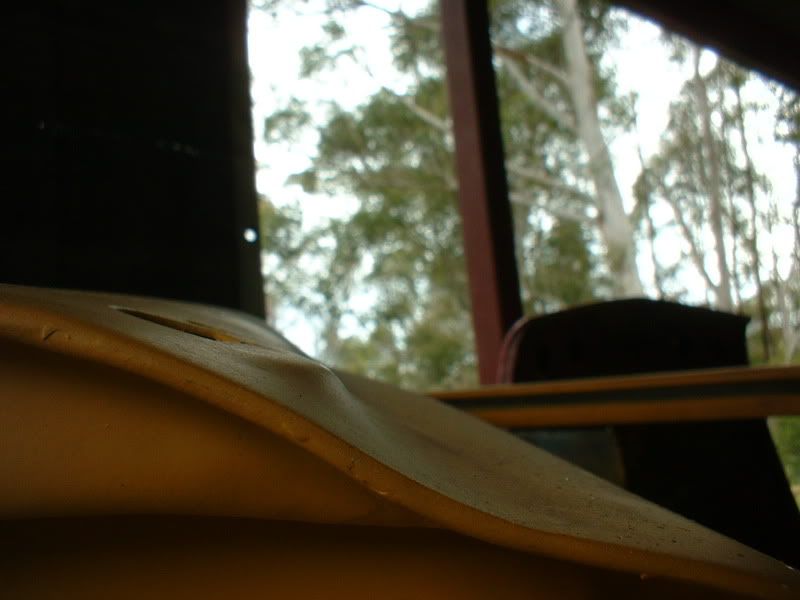
2) door buttons are made in two parts. the "bucket" which sits in the door and the button which is.. the button.
pic of the bucket tacked together. Note it is not trimmed yet and the inner guide tube has been held in place using the nut and bolt.
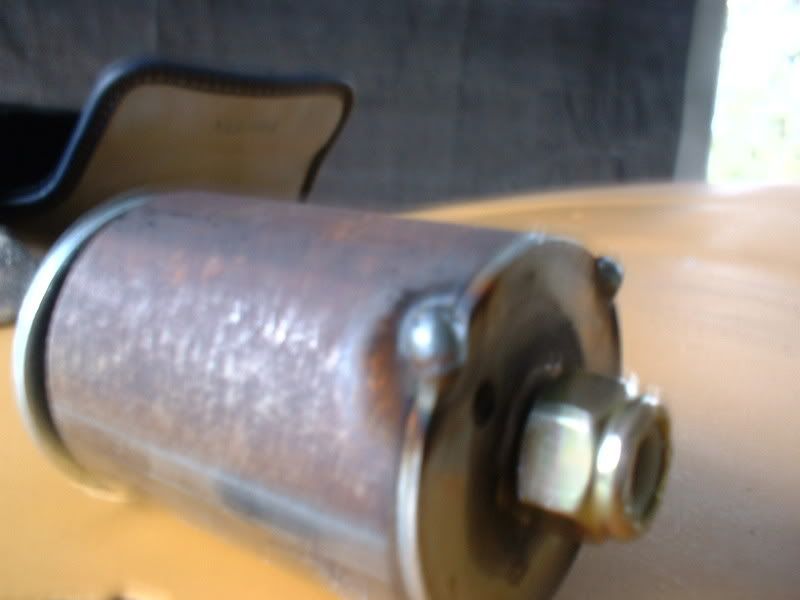
3)Bucket sunk in to the panel and trimmed to the profile of the panel. Note the inner guide tube has not been trimmed down yet. do it later using a large drill bit in a drill... obviously.
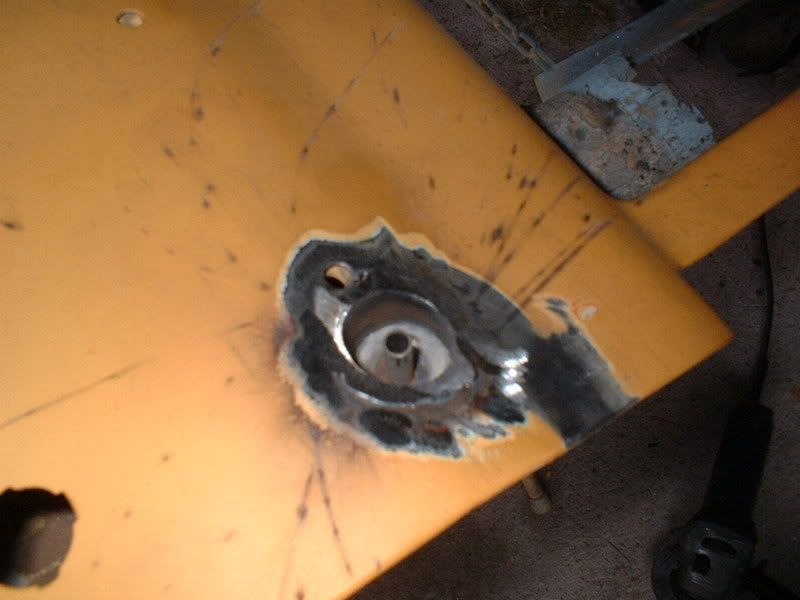
4)make your button. sit the tube in the bucket, scribe the profile onto the tube and then weld the button top on. the desired length/ height of hte button is achieved by grinding down later.
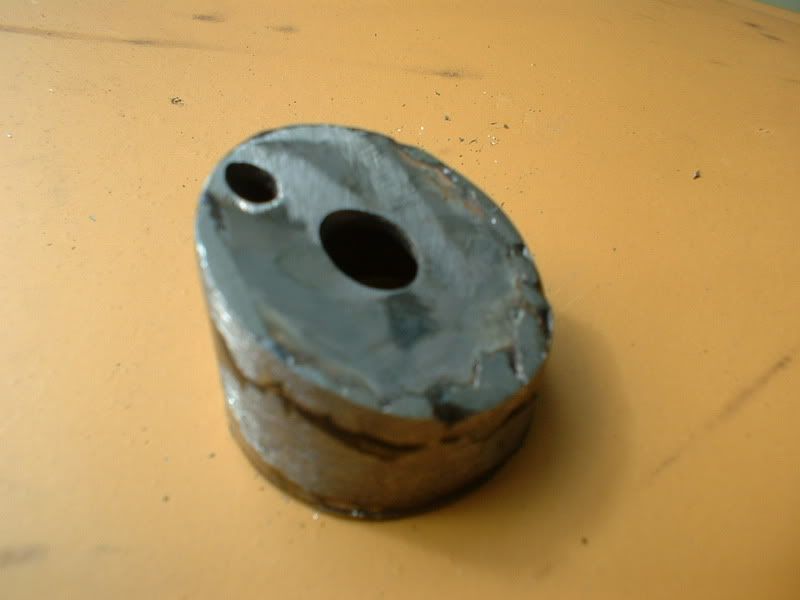
5) the bolt is then placed thru the button and cut to length and welded to the button.
make sure you have as little threaded section as possible. the threaded section causees the button to have a rough action whcih can stick.. ask me how i found out...
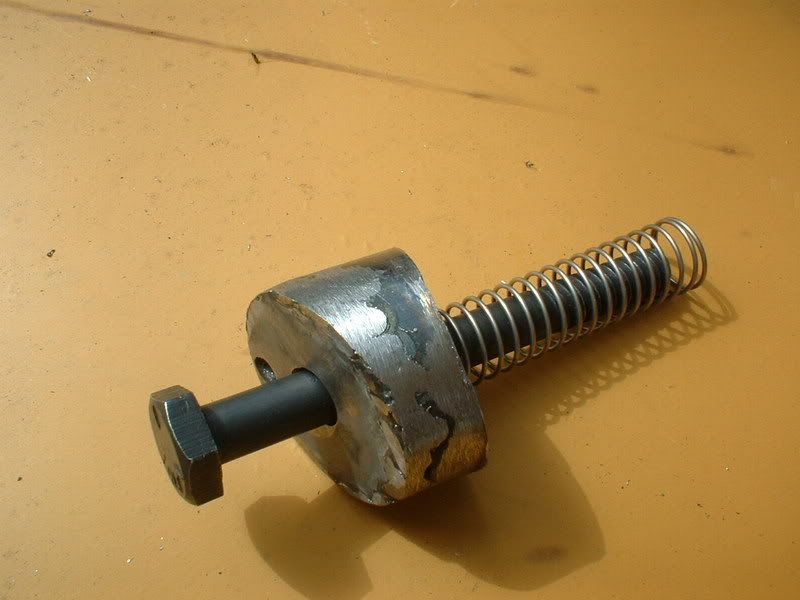
6) after futzing about for many hours getting all your clearnces right you should have something that looks like this (or better).
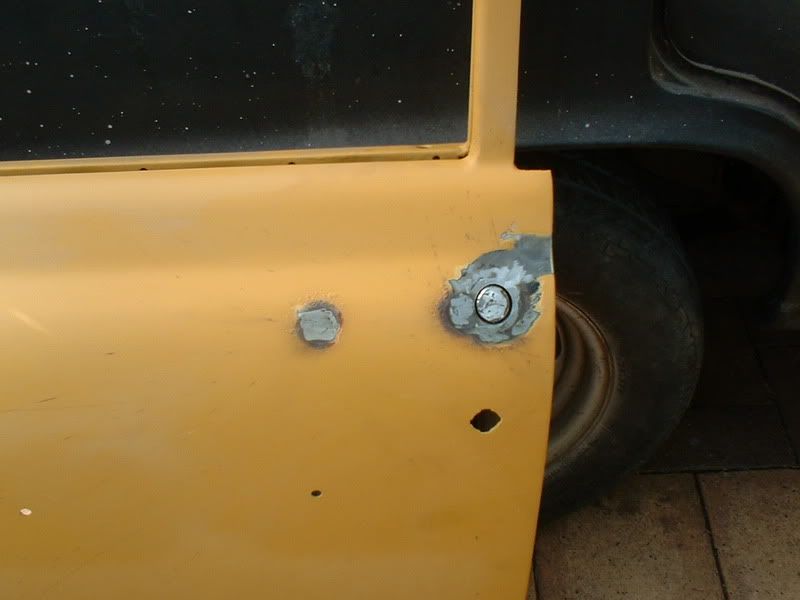
voila! buttons.
Cheers
Ed


