|
ozrocket
|
 |
« on: August 12, 2010, 11:08:18 AM » |
0
|
Hi all, I'm a newbie here, but I will be posting regularly on the restoration section shortly. This is my FC "return-to-the-road project". I bought the car from QLD about 2 months ago (from carsales.com), had my father-in-law check it out (he lives in Brissy) and on his advice went ahead and bought it. Then I had it immediately trucked to Melbourne.The body and interior is in excellent condition, although there is still some work to be done. The engine requires a complete rebuild, and over this last weekend a friend and I removed and dismantled the engine (photos below). Apart from the mechanical overhaul required, there are seatbelts to find and fit and many small items requiring attention to get the old girl roadworthy and registered. But here we go......! First Up Here are the images from carsales.com that 1st attracted me to the car.... 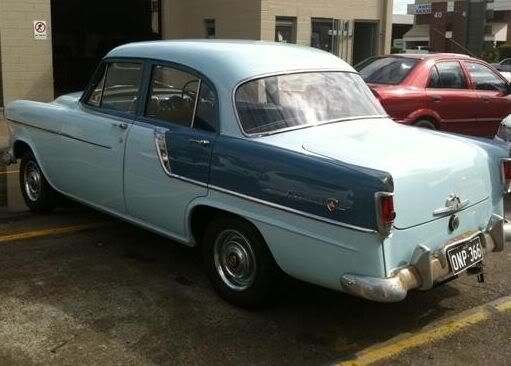  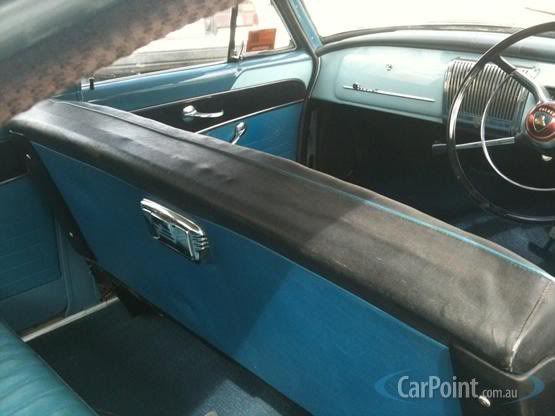 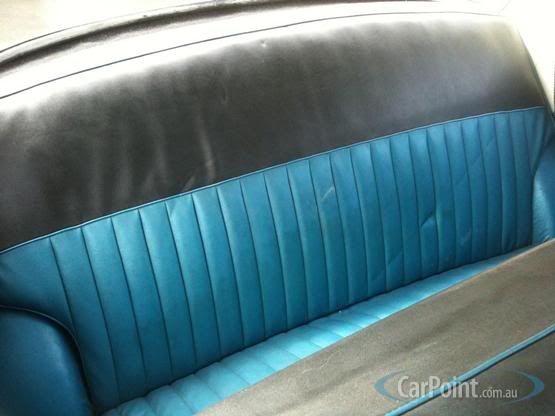 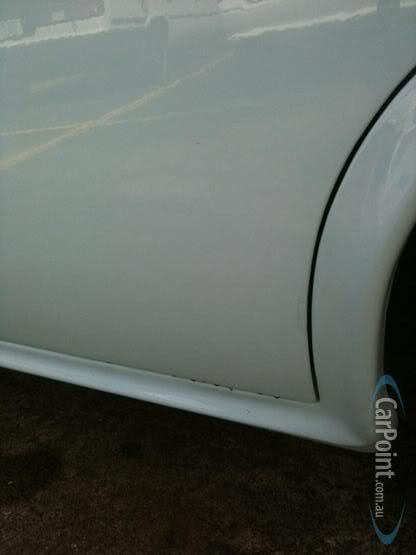 |
|
|
|
|
 Logged
|
|
|
|
|
ozrocket
|
|
« Reply #1 on: August 12, 2010, 11:46:25 AM » |
0
|
|
|
|
|
|
Logged
|
|
|
|
|
ozrocket
|
|
« Reply #2 on: August 12, 2010, 12:08:55 PM » |
0
|
|
|
|
|
« Last Edit: August 12, 2010, 02:39:19 PM by stinky »
|
Logged
|
|
|
|
|
ozrocket
|
|
« Reply #3 on: August 12, 2010, 12:16:10 PM » |
0
|
Removal of the harmonic balancer - thanks to the very kind loan of a harmonic balancer removal tool by Tony Galea (thanks also to Jason Blanchard, Scott McKenzie and Joe Galea, who all had a hand in getting this tool to me)...... 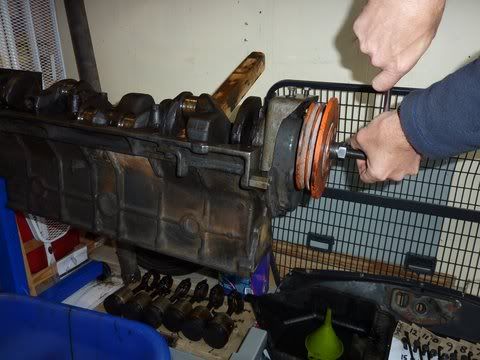 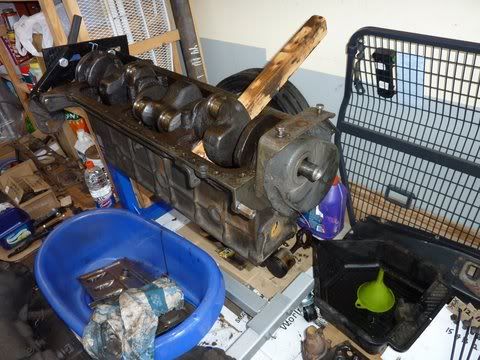 |
|
|
|
|
Logged
|
|
|
|
|
JB
|
|
« Reply #4 on: August 12, 2010, 01:22:17 PM » |
0
|
Those photos look fantastic, 'bout time you got your hands dirty!!  Are you going to paint the engine bay while the engine is out? Keep them coming! Welcome back to the Fe Fc fold after some years mate. Cheers JB |
|
|
|
|
Logged
|
Phone +64 223509263
|
|
|
|
ozrocket
|
|
« Reply #5 on: August 12, 2010, 01:32:54 PM » |
0
|
Thanks JB! Yeah it's been a while!! I will be re-doing the engine bay - looking at using KBS coatings rust sealing product http://www.kbs-coatings.com.au/ - any thoughts? Now more photos....... Progress stopped again today by yet another special tool! Here's the removal of the timing gear cover......now to find a thin-walled 7/16th socket to remove the Camshaft Retaining Screws! 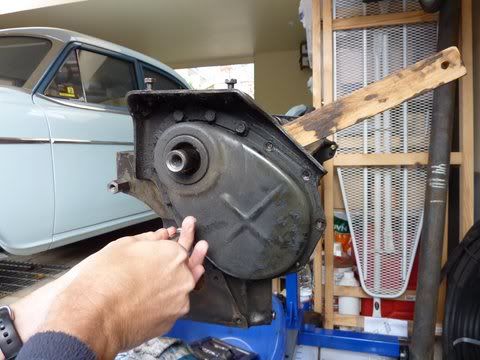 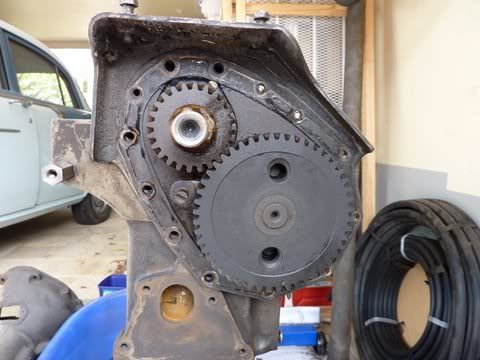 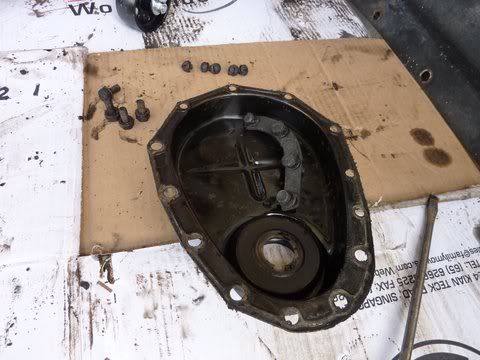 |
|
|
|
« Last Edit: August 12, 2010, 01:38:34 PM by ozrocket »
|
Logged
|
|
|
|
GOA350
vic-club
Senior Member

 Offline Offline
Posts: 489
FE's are great when they've got a V8

|
|
« Reply #6 on: August 12, 2010, 07:16:55 PM » |
0
|
Great work Ozrocket, good to see everything worked out. Good luck with the rest of it and don't be afraid to sing out if you need any help with anything.
Cheers Scotty
|
|
|
|
|
Logged
|
|
|
|
|
EffCee
|
|
« Reply #7 on: August 15, 2010, 09:20:49 PM » |
0
|
Going great guns Ozrocket, keep up the good work
|
|
|
|
|
Logged
|
Canberra, ACT F4+  |
|
|
|
ozrocket
|
|
« Reply #8 on: August 19, 2010, 01:02:40 AM » |
0
|
|
|
|
|
|
Logged
|
|
|
|
|
ozrocket
|
|
« Reply #9 on: August 19, 2010, 01:18:42 AM » |
0
|
|
|
|
|
|
Logged
|
|
|
|
|
JB
|
|
« Reply #10 on: August 20, 2010, 10:44:28 PM » |
0
|
Looks like you are having a ball Mal, I cant wait to see it in the flesh!!
Be there in about 3 weeks!!
JB
|
|
|
|
|
Logged
|
Phone +64 223509263
|
|
|
GOA350
vic-club
Senior Member
Offline
Posts: 489
FE's are great when they've got a V8
|
|
« Reply #11 on: August 26, 2010, 03:22:18 PM » |
0
|
G'day Ozrocket,
what is that lume running from the Generator regulator, is it for an alarm or something similar?
|
|
|
|
|
Logged
|
|
|
|
|
DN2168
|
|
« Reply #12 on: September 01, 2010, 12:24:59 AM » |
0
|
Hi OzRocket,
What are the plans for the engine? stock or hottie?
Dean.
|
|
|
|
|
Logged
|
|
|
|
|
GMHwagoon
|
|
« Reply #13 on: September 03, 2010, 08:13:23 PM » |
0
|
hi ozrocket
could you tell me where you are getting your chrome work done and how much was the front bumper to get rechromed thanks greg
|
|
|
|
|
Logged
|
|
|
|
|
ozrocket
|
|
« Reply #14 on: September 19, 2010, 03:32:14 AM » |
0
|
Sorry it's been a while posting. I will be posting more photos in the next few weeks - dissy, gennie, starter motor & oil pump strip down & rebuilds, and more chrome removal.
Now to answer the last 3 questions.....
1. The lume running from the Gennie Regulator is a bypass lume from the old reg (which i assume is no longer working) to a new one (not original part) on the other side of the engine bay. I will be removing both the non-standard reg and the lume and restoring the original reg to it's former glory (I picked up 2 original regs at the last auction night/ swap meet which will give me parts!!!).
2. The engine rebuild will be stock. The block & head are currently being re-conditioned and the only real mod thus far is new 3.020" (i.e. +0.020") pistons & rings and a re-bore to +0.020". This is a minimum re-bore required to straighten everything up!
3. I've not taken the chrome in for re-plating yet, but plan to take it to Classic Chrome in Geelong, as recommended by other forum users on this site. Will post photos and feedback on that when that has happened.
More soon!
|
|
|
|
|
Logged
|
|
|
|
Rabbitoh
vic-club
Senior Member
Offline
Model: FE
Posts: 522
FE - 'King of Cars'
|
|
« Reply #15 on: September 19, 2010, 08:06:09 PM » |
0
|
Hi ozrocket,
Who are you using for the engine re-build?
I'd be interested in any feedback you could provide on this aspect of your restoration.
|
|
|
|
|
Logged
|
Fortius Quo Fidelius 1966; Saints' 2nd in 2026?
Bunnies' 22nd in 2025?
|
|
|
GOA350
vic-club
Senior Member
Offline
Posts: 489
FE's are great when they've got a V8
|
|
« Reply #16 on: November 17, 2010, 09:04:19 PM » |
0
|
Hi Mal, just wondering if there has been any progress?
|
|
|
|
|
Logged
|
|
|
|
|
JB
|
|
« Reply #17 on: January 04, 2011, 10:11:19 PM » |
0
|
C'mon slacker give us all an update, and some photos!!!
|
|
|
|
|
Logged
|
Phone +64 223509263
|
|
|
|
ozrocket
|
|
« Reply #18 on: September 26, 2021, 12:28:52 PM » |
0
|
Hi all, I'm back after a LONG break!
COVID lock-downs and stand-downs have given me an opportunity to start work on the old girl again.
I will give an update on my progress and post some photos very soon.
Right now however, I am working on the rear suspension, brake assemblies and differential.
Specifically I am in the process of removing the REAR leaf springs at the moment. I have successfully removed the rear shackle plates and bolt assemblies.
But I'm stuck on removing the FRONT mounting bolt and bush assembly.
I have removed the right and left spring front mounting nuts successfully (after applying a lot of WD40), but try as I might I have not been able to extract the bolts.
I have tried more WD40, and applying many very firm taps to the end of the bolts with a heavy duty hammer (whilst protecting the threads for the nuts), but the bolts are just not budging.
Any ideas please?
|
|
|
|
|
Logged
|
|
|
|
|
ozrocket
|
|
« Reply #19 on: September 26, 2021, 12:42:37 PM » |
0
|
|
|
|
|
|
Logged
|
|
|
|
|


