|
Glenn 'Stinky' Stankevicius
|
 |
« on: September 23, 2004, 09:49:51 PM » |
0
|
With all the talk about pricey parts and such, I thought I'd check in to see where to get the bits for my HR front-end.
I am doing a complete strip and rebuild, so I'll want new ball-joints and any other wearing parts, plus the rubber bits.
Plus, if anyone could pass-on a copy of a schematic of the front-end, in particular the steering bits (steering is standard HR with HR column). I'll want to go over these, but only have the FE/C Manual.
|
|
|
|
|
 Logged
|
|
|
|
FCwagon
vic-club
Senior Member

 Offline Offline
Model: FC
Posts: 462

|
|
« Reply #1 on: September 24, 2004, 12:33:47 AM » |
0
|
Hi Stinky,
Bursons and Repco have the ball joints at a reasonable price but not the inner pivots. I had to get those from Rare Spares.
Can't help with the schematic but it might be worth trying the local library. I was quite surprised that my library had copies of after market workshop manuals for every model Holden up to VS.
cheers,
leigh
|
|
|
|
|
Logged
|
Red & white is alright
|
|
|
|
sgo
|
|
« Reply #2 on: September 24, 2004, 07:45:02 AM » |
0
|
The "lower arm inner pivot shafts" are available from SuperCheap, listed in their book but will probably have to get them in for you, at about $25 less ,each, than Rare Spares. Look like same supplier as well?
They are complete with bushes etc.
|
|
|
|
|
Logged
|
|
|
|
FCwagon
vic-club
Senior Member
Offline
Model: FC
Posts: 462
|
|
« Reply #3 on: September 24, 2004, 07:31:10 PM » |
0
|
SGO,
Good stuff!! I need another new set for the V8 crossmember, so I'll give them a go instead. Never thought to try SuperCheap, didn't realise they dealt in those sort of spares.
Leigh
|
|
|
|
|
Logged
|
Red & white is alright
|
|
|
|
Glenn 'Stinky' Stankevicius
|
|
« Reply #4 on: September 24, 2004, 08:52:18 PM » |
0
|
Thanks Fellas, I guess the moral of the story is to check other places first, you never know.
|
|
|
|
|
Logged
|
|
|
|
|
Ed
|
|
« Reply #5 on: September 24, 2004, 10:53:28 PM » |
0
|
Hello,
on the subject of HR front ends in FE/C's...
On reinstallation, is the front tongue of the x-member suppose to sit almost exactly in place without torquing down all the bolts?
The situation is I have placed my rebuilt x-member in but it doesnt look properly seated where the tongue/outrigger seems to hang down low.
A hint when torquing up the pivot bushes. I used two sockets to keep the control arm correctly spaced while torquing up.
Cheers
Ed
|
|
|
|
|
Logged
|
in the shed
|
|
|
|
Glenn 'Stinky' Stankevicius
|
|
« Reply #6 on: October 12, 2004, 09:25:14 AM » |
0
|
Hey Ed
Not sure about tongue placement, but it sounds like you have some specs or instructions there? Any chance of a copy? the library is a long way from my place.
|
|
|
|
|
Logged
|
|
|
|
FE_UTE
wa-club
Senior Member
Offline
Model: FE and FC
Posts: 547
I love YaBB 1 Gold!
|
|
« Reply #7 on: October 12, 2004, 11:02:20 AM » |
0
|
hey Stinky...one of our members ftp://Blown_FC has done a complete rebuild on his HR front end ...may be worth a try |
|
|
|
|
Logged
|
|
|
|
|
|
|
Ed
|
|
« Reply #9 on: October 12, 2004, 08:51:56 PM » |
0
|
Hi Stinky,
I only have access to a few workshop manuals which gives u info on torque settings and procedures for removing pivot arms and bushes etc.
can send u a copy but it will take a few days.
Cheers
Ed
|
|
|
|
|
Logged
|
in the shed
|
|
|
|
|
fcfromscratch
wa-club
Senior Member
Offline
Posts: 369
FC - Fantastic Cars
|
|
« Reply #11 on: October 13, 2004, 02:29:07 AM » |
0
|
Hi Glenn,
I've got a HR manual for the exact reason you mention, my FC has mostly HR running gear....so I'll have a look and send you scans of anything I can find that relates to it.....
can't do it tonight though...meeting night tonight, being secretary and all that....
cheers....Brad
|
|
|
|
|
Logged
|
|
|
|
|
Blown_FC
|
|
« Reply #12 on: October 13, 2004, 02:54:16 AM » |
0
|
OK Stinky.....here you go:
Upper Control Arm Ball Joint attaching Bolt Nuts = 8 lb-ft
Upper Ball Joint Nut = 60-70 lb-ft
Upper Control Arm Shaft to Tower extension attaching Bolt Nuts = 40-50 lb-ft
Steering Arm to Knuckle attaching Bolt Nuts = 40-50 lb-ft
Lower Ball Joint Nut = 60-70 lb-ft
Front Crossmember mounting bolt Nuts = 30-35 lb-ft
Putrigger to Frame attaching Bolt Nut = 20-25 lb-ft
Steering Knuckle to Brake Backing PLate and Steering Arm Nuts = 30-35 lb-ft
Lower Control Arm Outer Bolt and Lock Nut = 70-80 lb-ft
Front Crossmember Mounting Bolts = 30-35 lb-ft
Tie Rod adjusting sleeve Lock Nuts = 40-45 lb-ft
Steereing Gear to Frame Bolts = 25-30 lb-ft
Pitman Arm to Shaft Nut = 90-100 lb-ft
I also have photocopies of pictures and stuff straight from the HR manual, which I can send if you like, but if Brad can send scans, taht may be quicker....let me know if i can help any more.
Cheers
Mark
|
|
|
|
|
Logged
|
|
|
|
|
fccool59
|
|
« Reply #13 on: October 15, 2006, 01:10:49 AM » |
0
|
nice thread, i was looking on ebay for a hr manual but but now I found this. I have run out of space on the computer desk so I might take the front end out to the kitchen bench in front of our only air coditioner, its about a million degrees out side. I now have the upper ball joints bolted in, pretty exciting to finally actually do up some bolts. 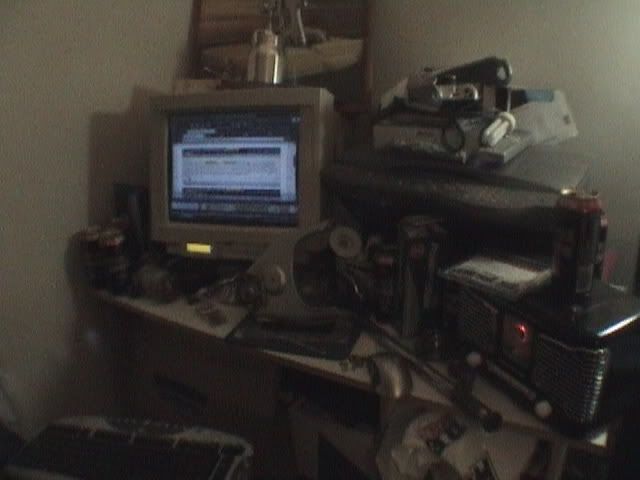 |
|
|
|
|
Logged
|
|
|
|
|
mcl1959
|
|
« Reply #14 on: October 15, 2006, 03:27:39 AM » |
0
|
Ed, yes the front tongue should be pretty much exactly right when all the bolts are tight. It's not supposed to put any torque on the front end, just resist twist during braking.
This should be checked during the welding stage so that it is welded on in the correct place.
Ken
|
|
|
|
|
Logged
|
|
|
|
|
fccool59
|
|
« Reply #15 on: October 15, 2006, 05:24:05 AM » |
0
|
OK, I have all the front end parts all over the kitchen benches, now I cant get the new bushes to screw into the upper control arms and I have to get this done before the missus comes home at about 10pm tonight.
|
|
|
|
|
Logged
|
|
|
|
|
fccool59
|
|
« Reply #16 on: October 15, 2006, 06:10:20 AM » |
0
|
here is all the kitchen bench space it took. I tried the new bushes I bought from rare spares for the lower and they are a loose and sloppy fit in all the control arms, lower and upper. The ones that come with the upper pins only screw in a 1/4 of a turn in the control arm and then a little bit further if I stand on the ratchet, the old bushes dont screw onto the new pins and the old pins are badly worn but probably have to go back in. I have bought lots of new parts to put this thing back together with and the new parts are not looking to good so far. 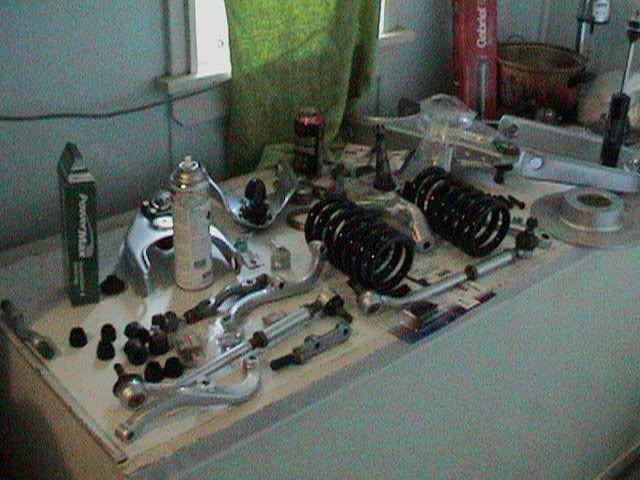 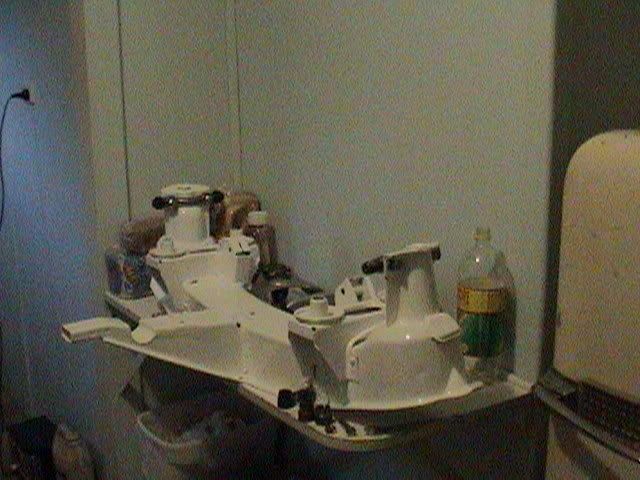 |
|
|
|
|
Logged
|
|
|
|
|
fccool59
|
|
« Reply #17 on: October 15, 2006, 07:54:02 AM » |
0
|
dam, Ive been trying to tap a thread with the tiawanese bush, after shitloads of metal fillings Ive got it through but becuase I had to do it by standing on the ratchet I have gone crooked, I think I might need to find a new upper control arm and some proper bushes instead of the tiawanese crap I paid $120 for, they are not even both the same, one pair of bushes that came with one pin takes a different size socket to the other and the bushes are different colours but they both have the same box and part number. The bushes I buaght seperately are of no use as they just slop around in the holes, Ive probably spent about $3000 on parts from american autos, they seem alright but I hope its not going to be like this putting the whole car together becuase I havent got many of the receipts, I have been buying the bits over 2 years and wont be happy if all that money was a waste.  |
|
|
|
|
Logged
|
|
|
|
|


