|
smitty
|
 |
« Reply #20 on: January 21, 2013, 07:24:30 PM » |
|
Thanks Ken,
Was basically what I had in mind from looking through the other builds on the site! Will be starting this weekend or before if I have a chance so i will update again with hopefully some progress early next week!
Mark
|
|
|
|
|
 Logged
|
|
|
|
waynos
Senior Member

 Offline Offline
Model: FC
Posts: 787
patience grasshopper

|
|
« Reply #21 on: January 21, 2013, 09:39:00 PM » |
|
looks great for a 50 year old ute
good luck and think about the next step instead of the whole car
cause it becomes overwhelming sometimes
|
|
|
|
|
Logged
|
The grinder is mightier than the sword.
|
|
|
Not Happy Jan
nsw-club
Senior Member
Offline
Model: FC
Posts: 956
Aussie adventure
|
|
« Reply #22 on: January 21, 2013, 10:05:59 PM » |
|
looks great for a 50 year old ute
good luck and think about the next step instead of the whole car
cause it becomes overwhelming sometimes
This is a great point, hence mine has been stalled for a while  Nick |
|
|
|
|
Logged
|
You can never have too many!
Port Macquarie NSW
|
|
|
|
NES304
|
|
« Reply #23 on: January 22, 2013, 08:36:59 AM » |
|
Thats the way, Grab it by the horns!!!
|
|
|
|
|
Logged
|
|
|
|
|
hsv-001
|
|
« Reply #24 on: January 22, 2013, 02:41:46 PM » |
|
Ok ,if you want reliability and economy you should either go v6[front mounted torana rack] or straight 6 [rear comodore rack].Im old school so 30 years ago I put in a red motor in my fc van .Its backed with a vk 5 speed box ,has hr rear end ,hr front end .nissan twin circuit booster commodore rack with colapsable column ,two speed wipers, centre pull park brake,datsun buckets,H4 headlights,headers and a sports system,yeah and a little bit of work done to the motor but the full race cam was removed years ago so the missus could let the clutch out .I spent many years working for a business that modified early holdens.V6 and V8 rack and pinion and collapsable column conversions.Nevertheless I would not disguard these old school type conversions for reliability and cost.Here is a few ideas for you to think about before you go much further.Enertia reel seatbelts behind cab wall in well gives more room for seat adjustment.If you go cable clutch [more simple to install booster] plan this when smoothing firewall.75x50 rhs rails under floor to mount gearbox[like ek auto] if not using chassis kit.If using bucket seats and centre mounted park brake it is a good idea to strengthen floor at this point.A piece of 1.6 flat and capture the mounting nuts under the floor.Here is a trick when lifting the floor for the transmission, if you can find an old 14" rim and cut the innermost bead section away it can be used to replace the subframe you had to cut out. now, go to the newsagent and get a sheet of cardboard to make stencils and replace the floor in two sections as it is much neater and easier ,be careful around clutch side at front as there is little room for pedal.Sorry to chatter on,if you need info just call me 55477094 i'll try to help.
|
|
|
|
|
Logged
|
|
|
|
|
smitty
|
|
« Reply #25 on: January 31, 2013, 03:46:19 PM » |
|
Hey guys, Had a decent day at the shop over the weekend and got a little bit done. Decided just to attack the front left side first as the bottom of the A pillar was worse on that side and would need a lot more work then the other side (not sure about this logic now I think about it). Removed the floor first and what was left of the cross member. Had my uncle come round and help out, he works at a local restoration place so his input was very welcomed. Having a guy who knew what he was talking helped me get over the fact I was flying blind. 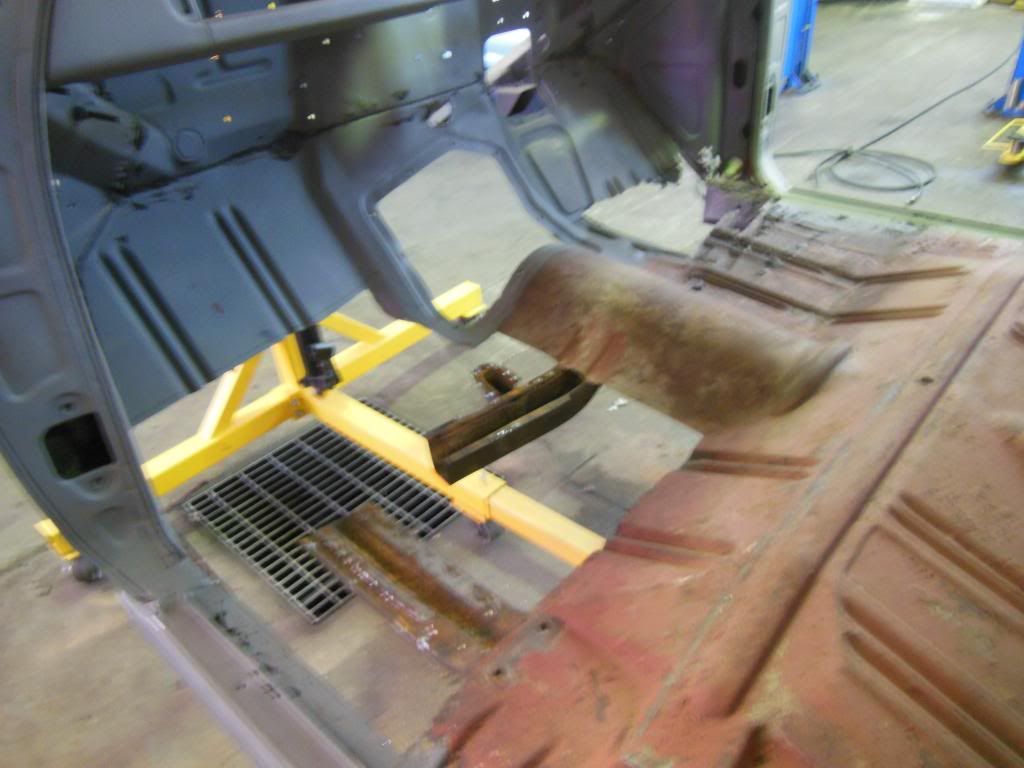 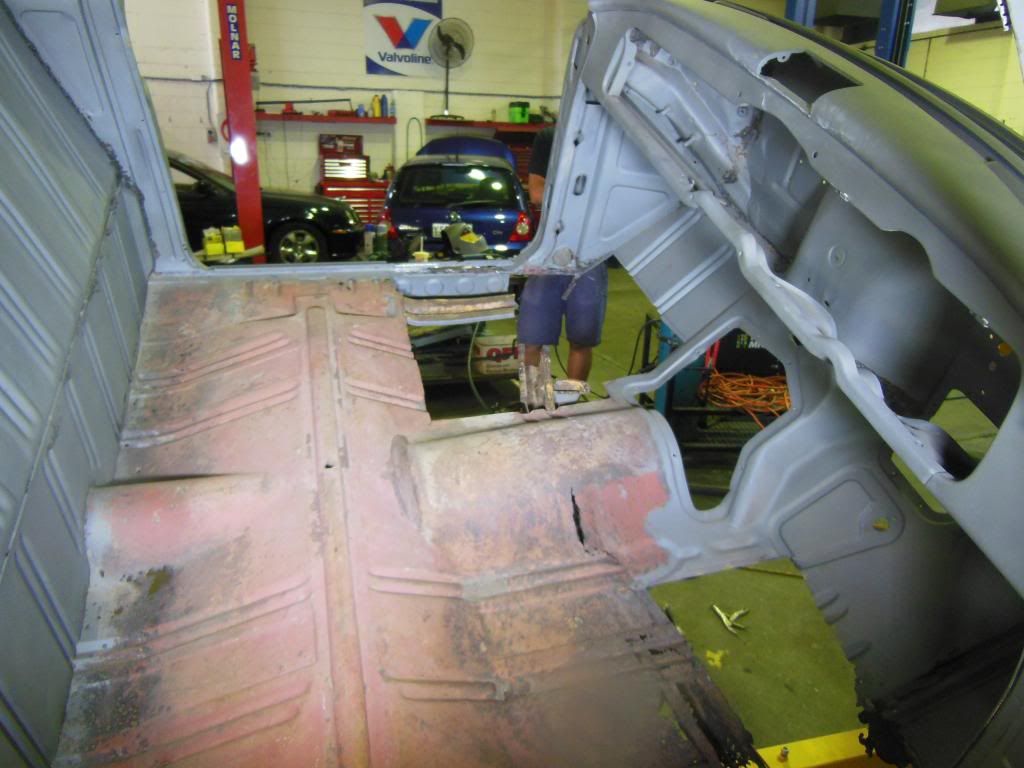 Then moved on into the bottom of the A pillar, using what was left of the old section and the other side as a template I made up a new piece to attach to the bottom of the pillar and the inner sill. Was a little tricky to get right and ended up having to give it a few attempts before I was happy (gave me a little more welding practice which I think I needed). 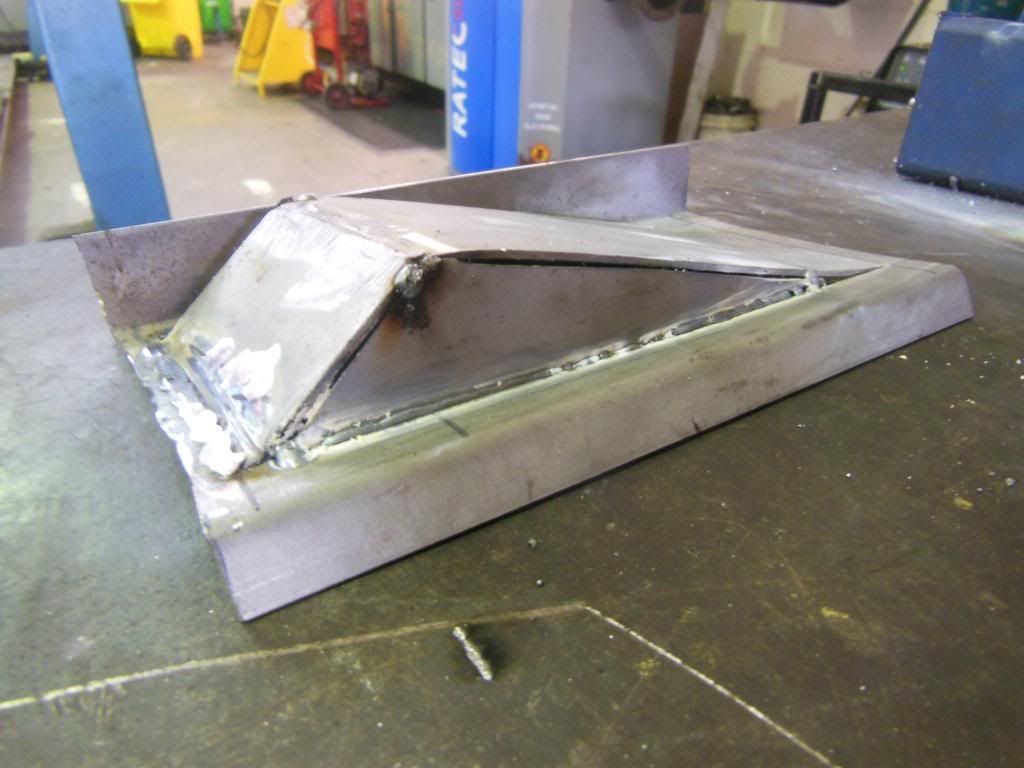 After that we cleaned up where the new bit was going and removed the outer sill to get better access for welding it all together.  From this....to  This! Test fitted the floor and then checked the position of the new cross member and tacked that all in. 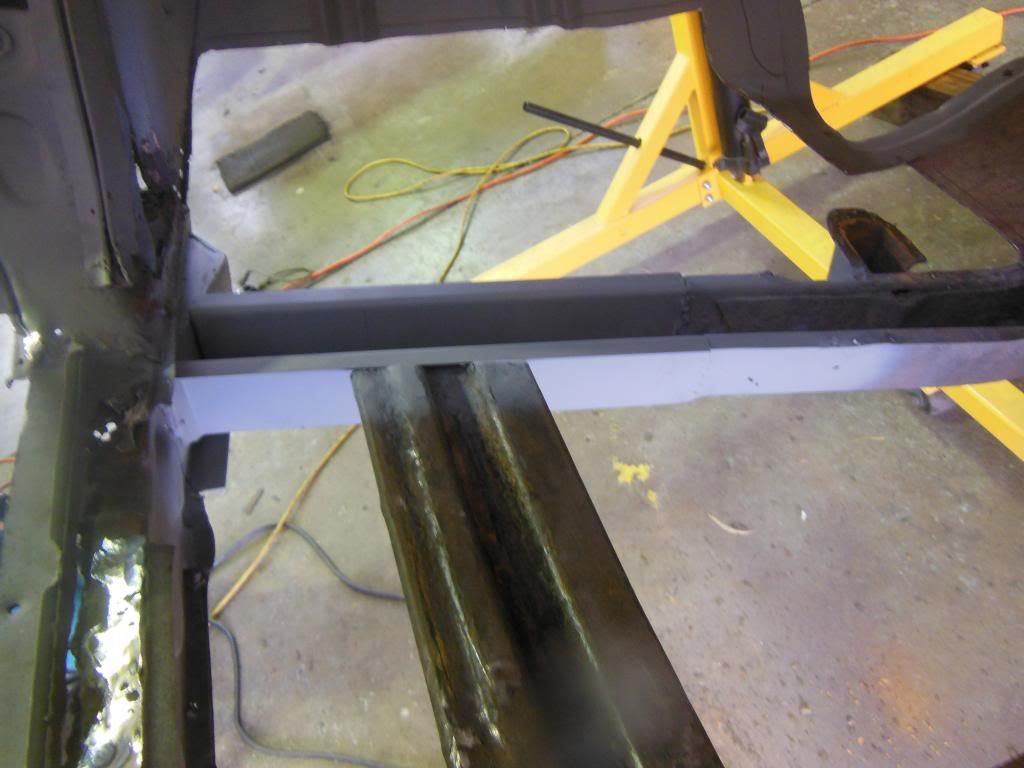 We then just cleaned it all up, Added some extra bracing with some sizeable steel and rebuilt the bottom of the A pillar that connected to the inner sill. Plan on putting the outer bit on when we fit the outer sills at a later date. 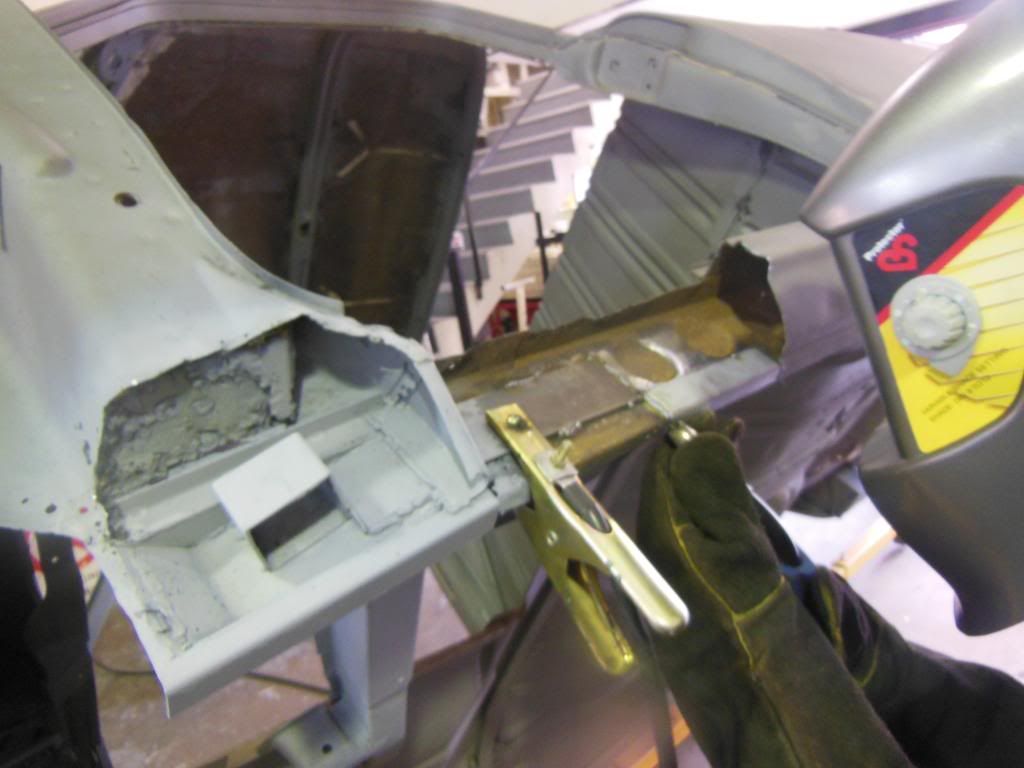 Finally fit the floor in and tided it all up as best we could. 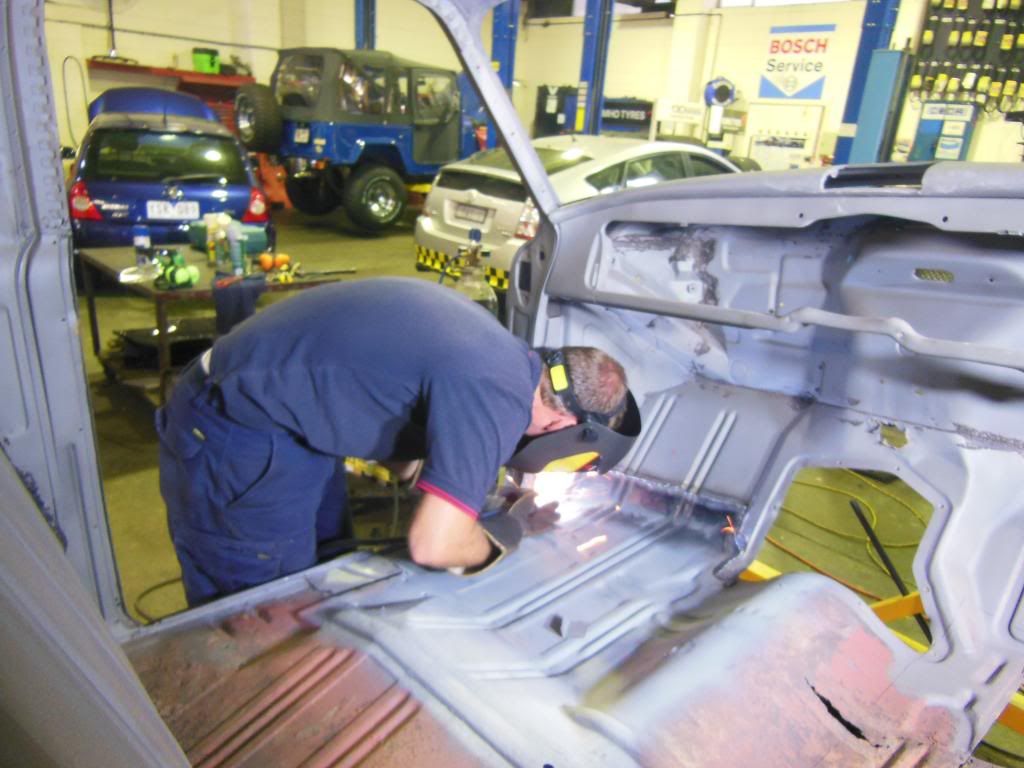 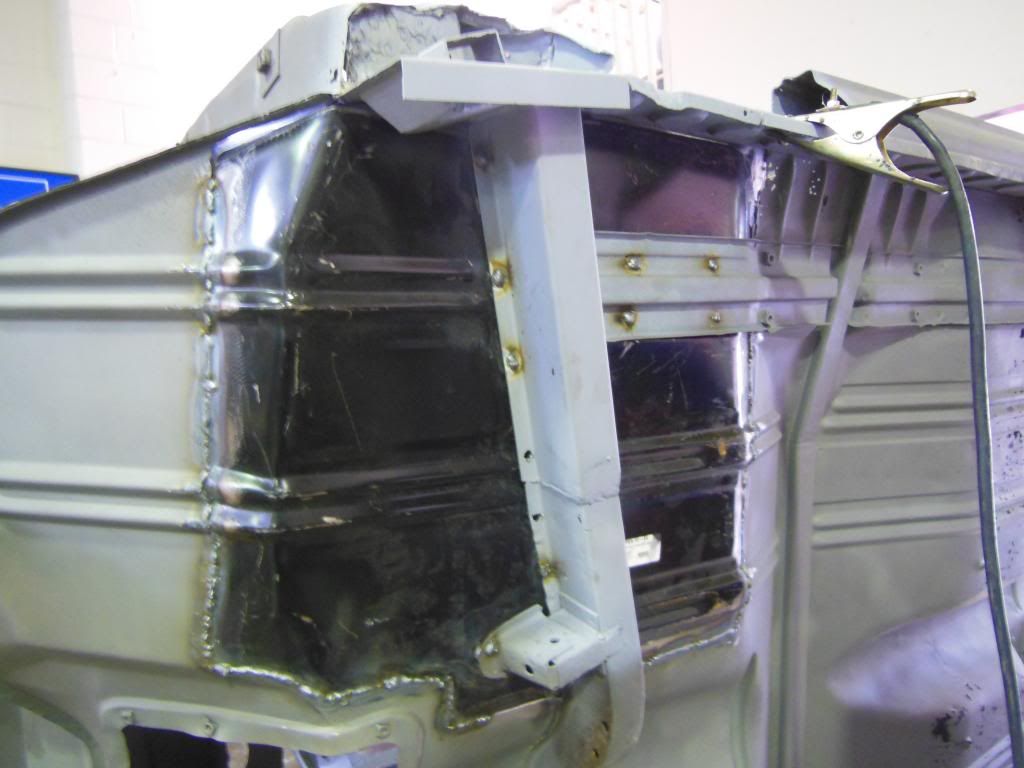 Thought it came out a lot better then I imagined. Especially since at times it felt like the blind leading the blind through some points in the day  ! cheers for now, Mark & Jeff |
|
|
|
|
Logged
|
|
|
|
|
FCRB26
|
|
« Reply #26 on: January 31, 2013, 05:46:36 PM » |
|
Looks good ..
Having your uncle help would be invaluable cant beat old school know how..
|
|
|
|
|
Logged
|
|
|
|
FCV08
Senior Member
Offline
Model: FC
Posts: 692
FE FC Club of QLD
|
|
« Reply #27 on: January 31, 2013, 10:13:23 PM » |
|
Great job.
Remember chew it off bit by bit.
Keep up the progress reports.
Cheers
Craig D
|
|
|
|
|
Logged
|
|
|
|
|
smitty
|
|
« Reply #28 on: February 03, 2013, 09:12:45 PM » |
|
Thought I might whack this up. My parents had the local pool man come round to move our pool filter and to my surprise he has a FC Ute that he drives everyday. Was a nice start to the day to walk outside and see an example of one finished, not rusted out and looking a little sad (like mine). Kinda gave me another kick up the butt and got me working extra hard for the next week!! Not sure if anyone knows the guy, but he was gone by the time I got home. 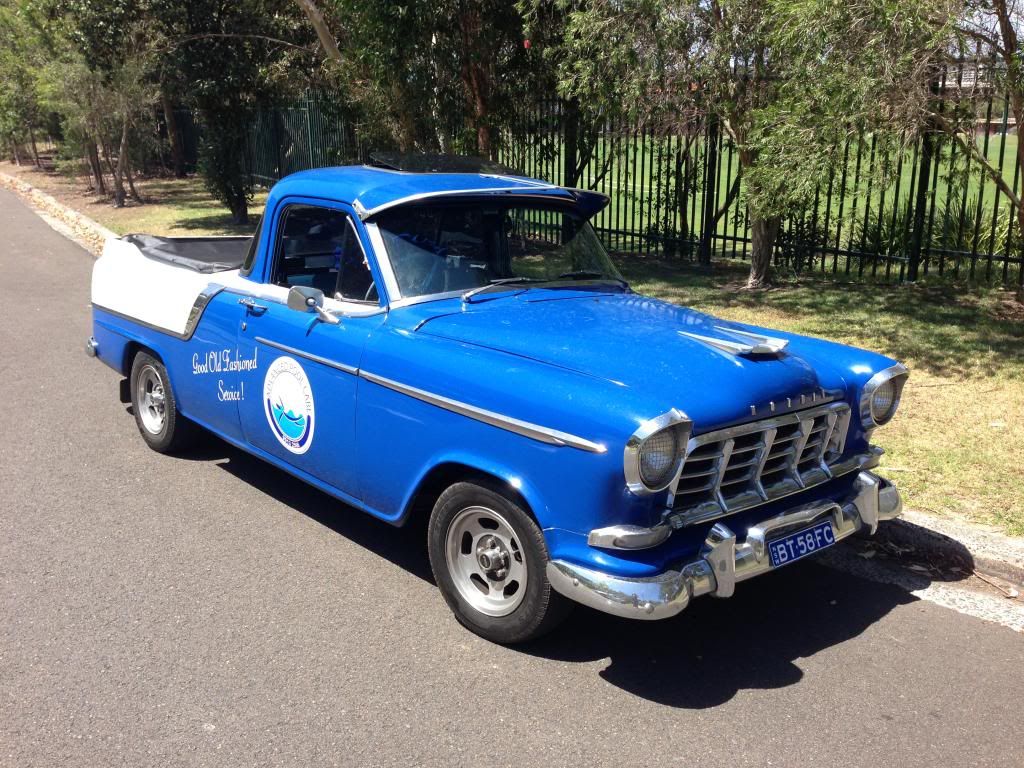 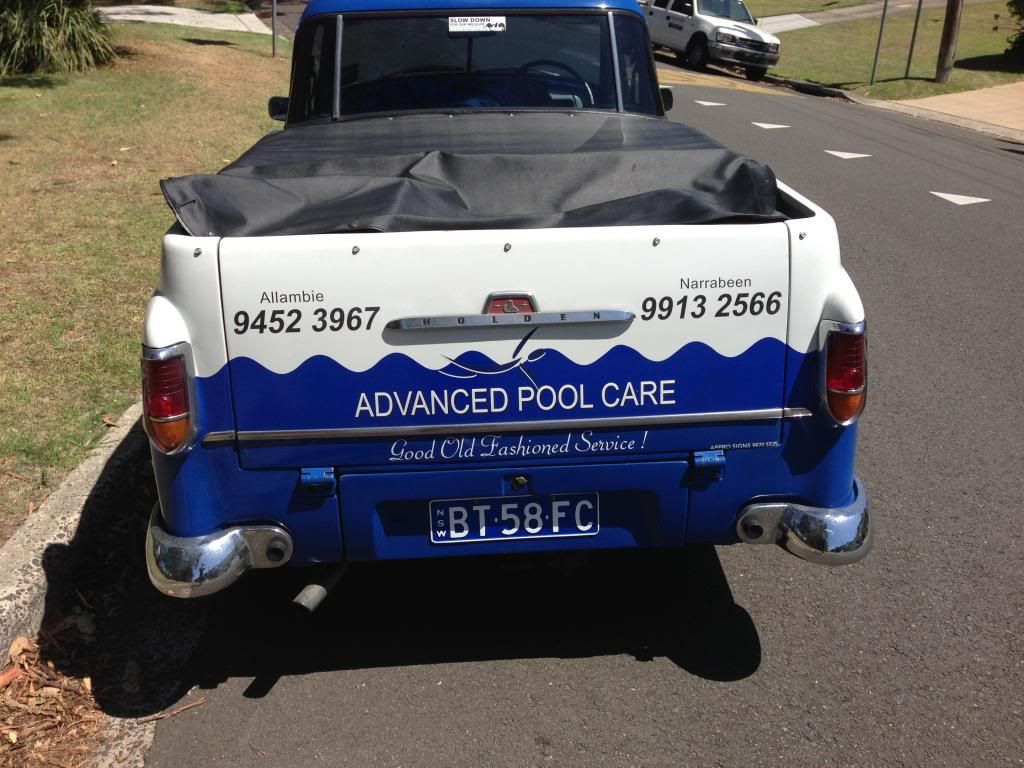 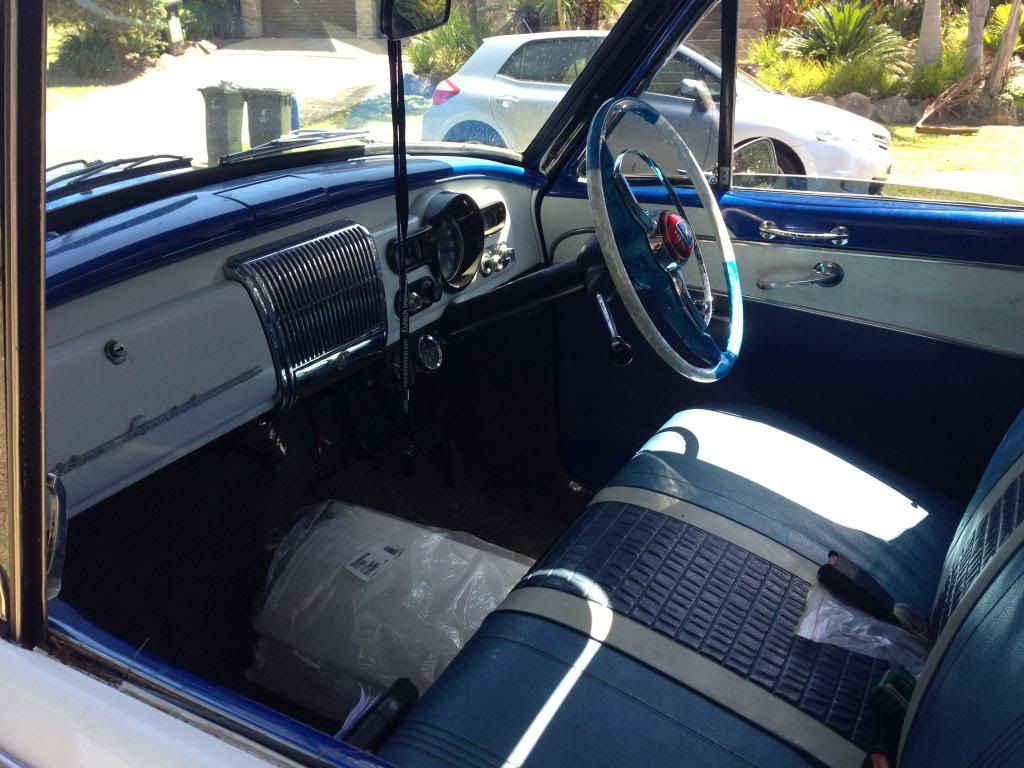 |
|
|
|
|
Logged
|
|
|
|
|
NES304
|
|
« Reply #29 on: February 04, 2013, 11:40:04 AM » |
|
Thats really cool  |
|
|
|
|
Logged
|
|
|
|
|
smitty
|
|
« Reply #30 on: February 14, 2013, 05:38:08 PM » |
|
Hey guys, Just a quick question for all you knowledgeable people! Finished off the bottom of the A pillars on both sides today and notice that in the very bottom at floor level in both the A pillars, the hollow section is filled with some kind of rubber (see pic below). 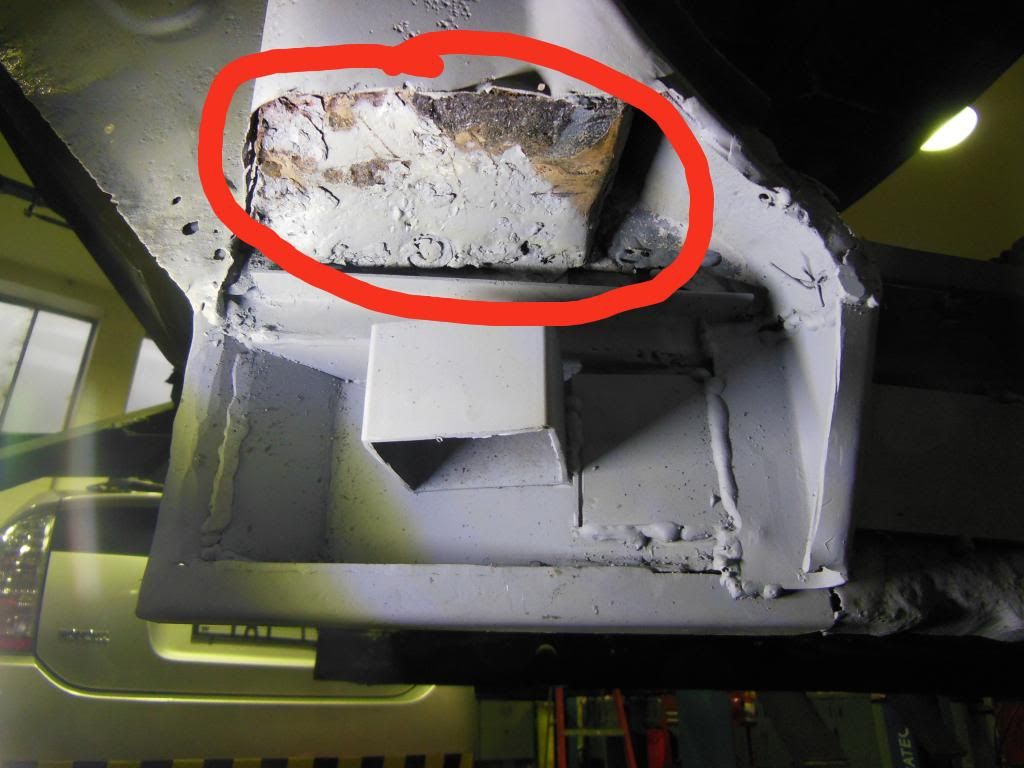 Question being, is this the correct thing to be in there? should it be hollow or should there be a steel plate blocking off the subframe attach point from inside the cab? Thanks Mark |
|
|
|
|
Logged
|
|
|
|
|
mcl1959
|
|
« Reply #31 on: February 14, 2013, 06:26:01 PM » |
|
I believe it was ordinarily a gob of bituminous sealant similar to what is used on the firewall to cover the back of the clips holding the sound deadened on.
I usually weld up this gap if there is space to get in there.
Ken
|
|
|
|
|
Logged
|
|
|
|
|
smitty
|
|
« Reply #32 on: February 14, 2013, 09:37:38 PM » |
|
Thanks Ken, Thought it looked a little hack job repair but it does match your description so guess not haha. Will probably chop it out and replace it tomorrow before I get the outer sill on. Thanks again, greatly appreciated  Mark |
|
|
|
|
Logged
|
|
|
|
|
fcwrangler
|
|
« Reply #33 on: February 14, 2013, 10:22:22 PM » |
|
Mark, I had the same problem with mine, trying to weld in new sections and the tar would catch fire. Form what I can tell it is used as a seam sealer as it was all over my sedan when I cleaned up the body at the prep stage. As Ken said, it was all along the firewll joint as well as the floor and sill and floor joints, pain in the bum to clean up I ended up using a heat gun and screwdriver to get all the stuff out of the a pillars. All the best for the rest of the repairs and if it turns out half as good as the pool guys ute, you will have a fine looking sample.
Regards Jim
|
|
|
|
|
Logged
|
on the seventh day: God Made Holden
|
|
|
|
TTV6FC
|
|
« Reply #34 on: February 15, 2013, 06:37:49 PM » |
|
Mine had steel plates on both sides in that spot and never been repaired.Jamie.
|
|
|
|
|
Logged
|
Run your fingers over my Holden and I'll run my Holden over your fingers!!!!
|
|
|
|
smitty
|
|
« Reply #35 on: April 26, 2013, 02:21:25 PM » |
|
Its been a while now so thought it was time for an update. Have not had to much time to work on the car with the workshop being busy and me back at uni. Got stuck into the other front hand side floor, cross member and trans tunnel hump support in one day. The bottom of the A frame wasn't as bad as the other side so didn't to be totally ripped out but will need a little TLC before i get around to putting the outer sills on. 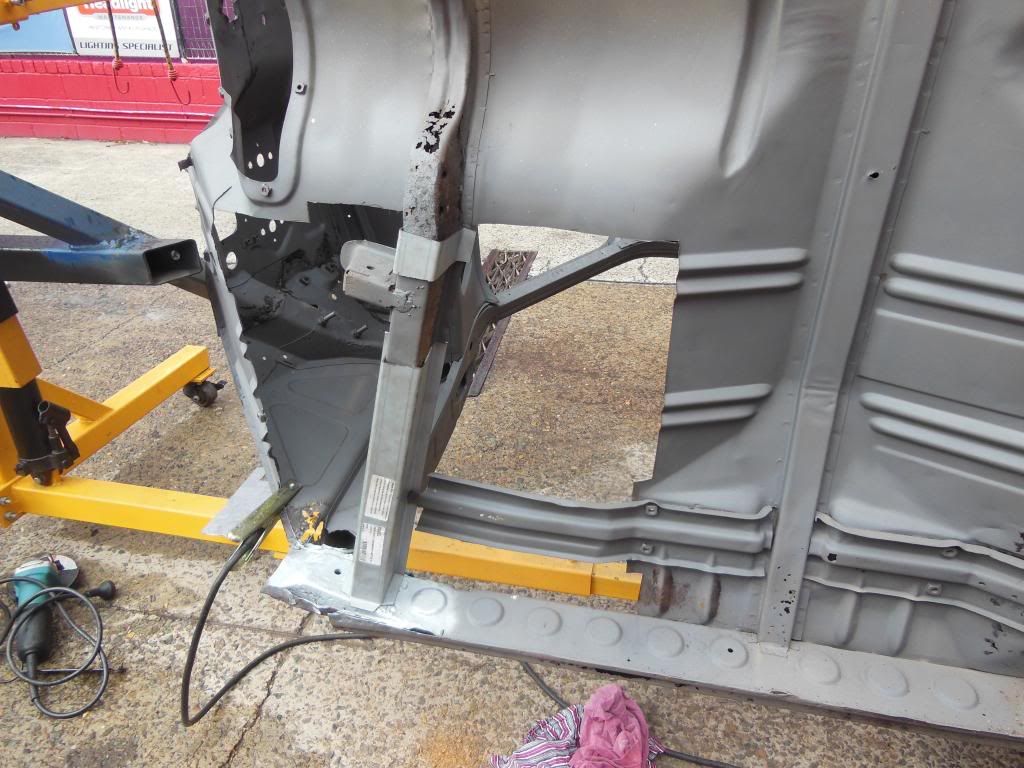 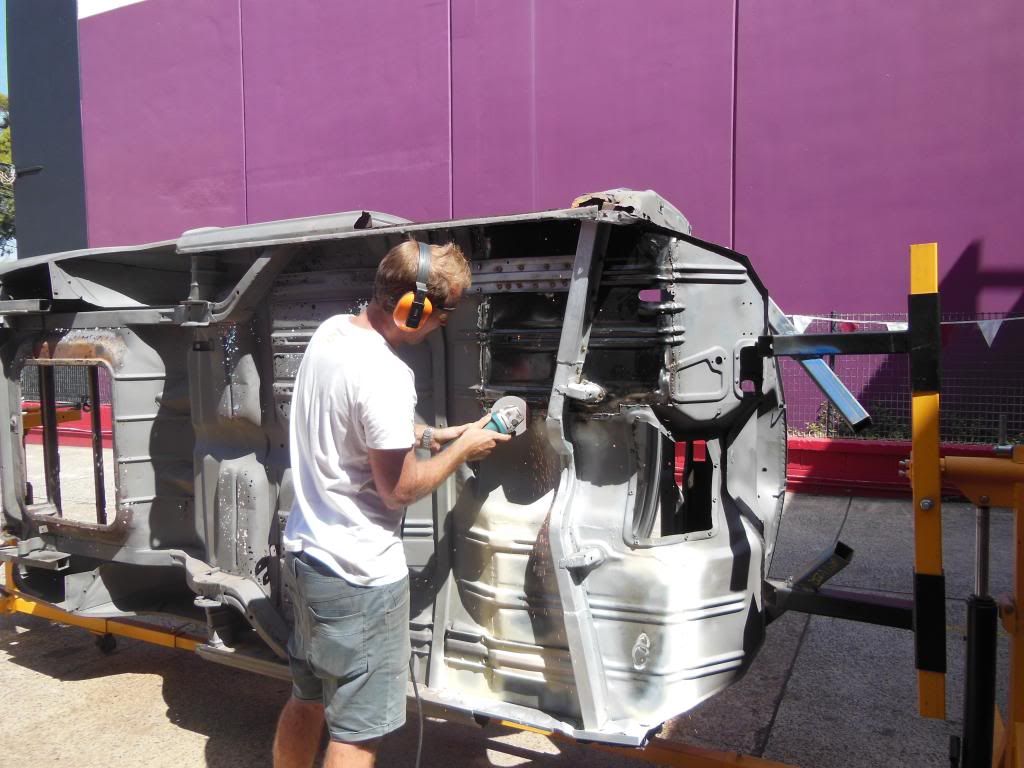 All that looked ok to me, welding seams to be getting a little bit better but nothing the grinder and a little time didn't fix. Moved onto the rear floor pans over the long weekend, ended up cutting away most of the cabin divider to get some access cause going in from the tray was a pain in the ass. All similar to the front just cut the rusty stuff out and put the new floor pans in. Had to do a little work on the structural frame at the back of the rear floor as it was totally full of dirt and was fairly badly rusted. Other then that nothing to difficult. 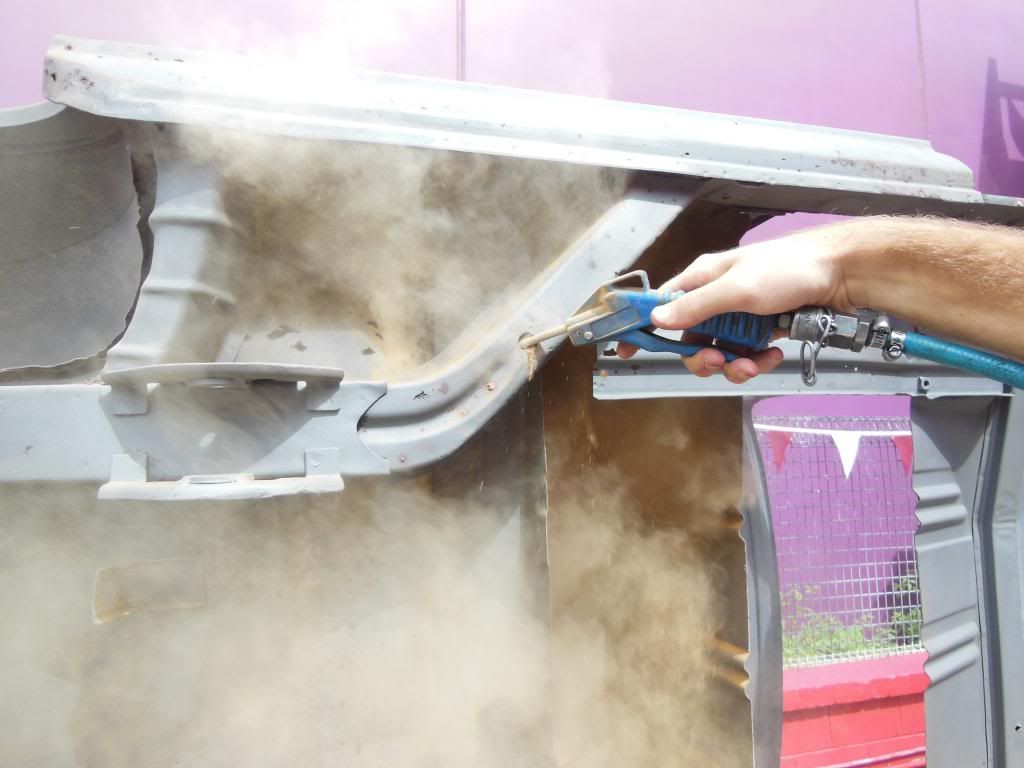 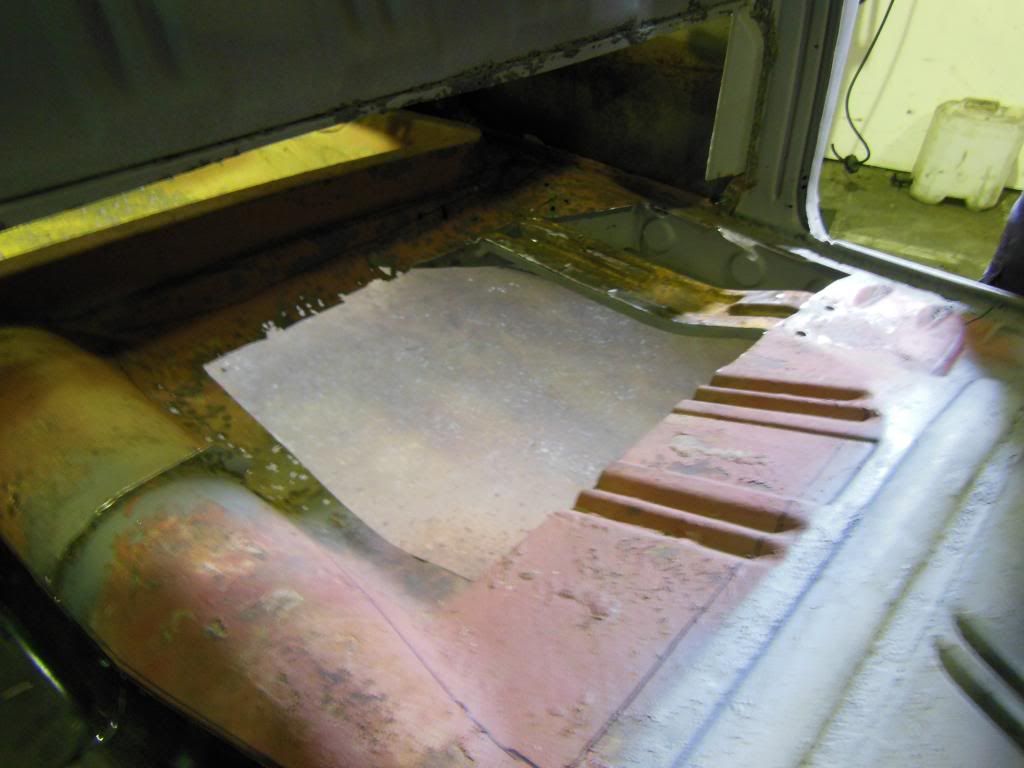 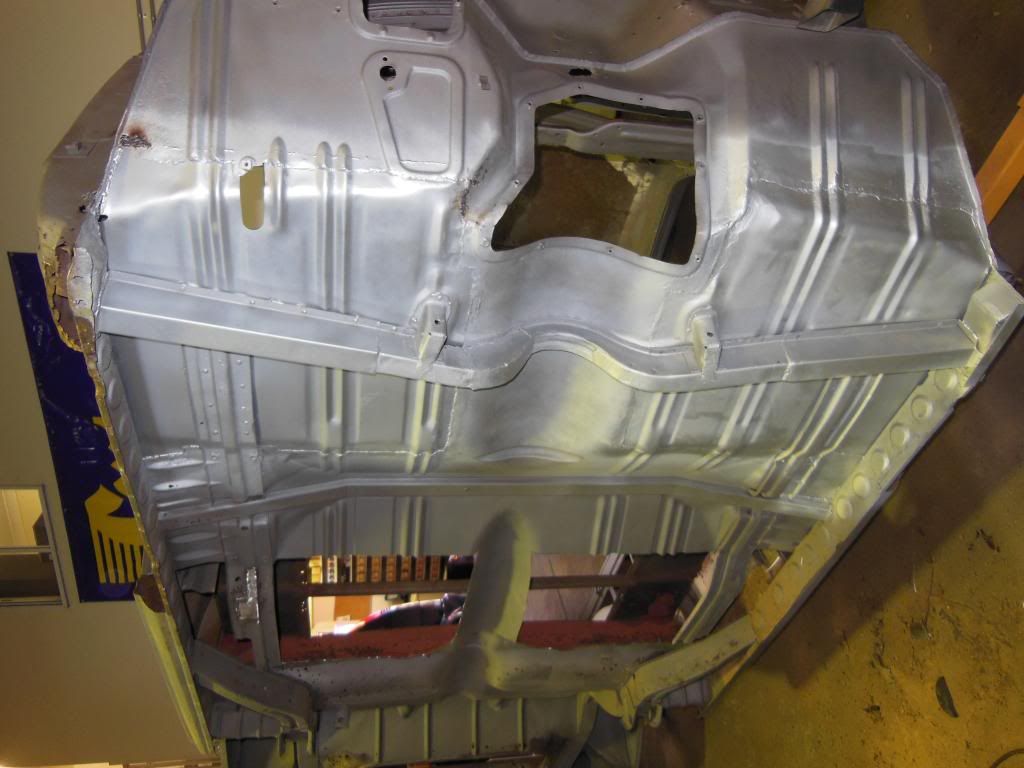 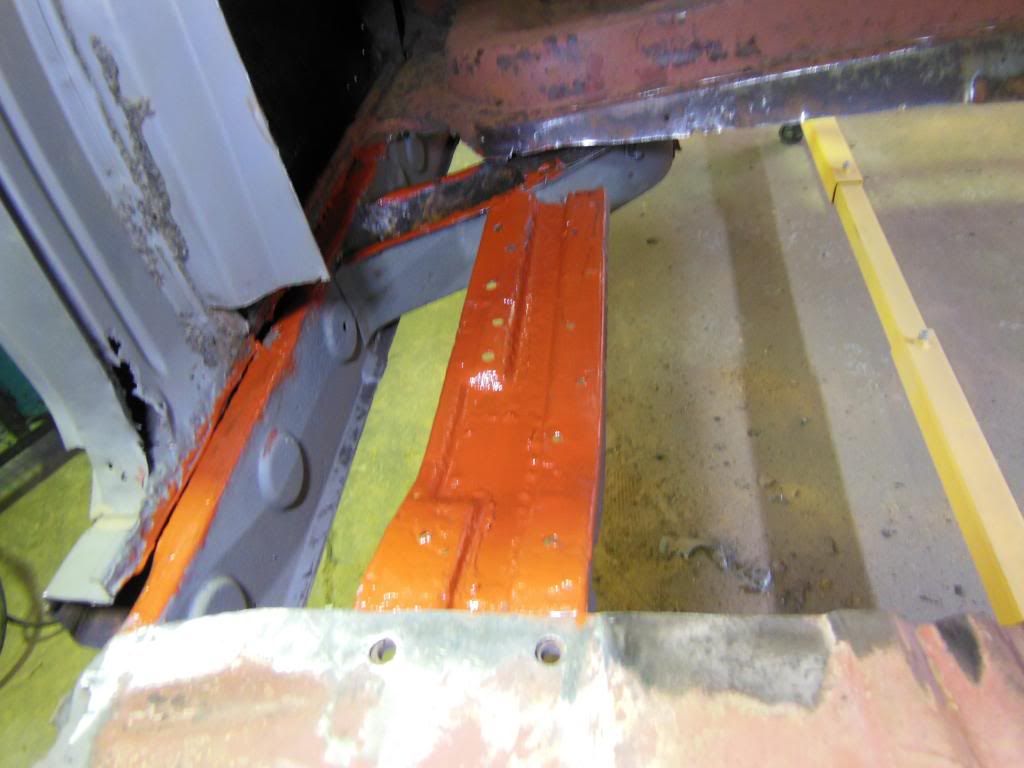 And that's where i got to before i was making my last cut, tried to push a cutting disk that was a little had it through the final bit without adjusting the protector and ended up taking a decent size cut to the right hand index finger. Surgery and a few weeks later its all good but very lucky it wasn't a lot worse. lesson learnt the hard way with 3-4 weeks of not being able to work on the car but will finish welding in the pans on the weekend. |
|
|
|
|
Logged
|
|
|
|
customFC
nsw-club
Guru
Offline
Model: FC
Posts: 5900
Ask me about microwaving cats for fun or profit.
|
|
« Reply #36 on: April 27, 2013, 12:17:17 AM » |
|
Ouch!!!
Good to hear you are on the mend and getting back into it.
Regards
Alex
|
|
|
|
|
Logged
|
|
|
|
Not Happy Jan
nsw-club
Senior Member
Offline
Model: FC
Posts: 956
Aussie adventure
|
|
« Reply #37 on: April 27, 2013, 05:49:29 PM » |
|
Gloves gloves and more gloves ... I've learned my lesson.  Nick |
|
|
|
|
Logged
|
You can never have too many!
Port Macquarie NSW
|
|
|
MAF
vic-club
Junior Member
Offline
Model: FC
Posts: 60
|
|
« Reply #38 on: May 10, 2013, 10:59:06 PM » |
|
Hope you get better soon, Dad & I are at a similar stage with similar rust.
Cheers
Mike
|
|
|
|
|
Logged
|
|
|
|
|
hsv-001
|
|
« Reply #39 on: May 11, 2013, 05:53:51 PM » |
|
Just looking at the pics and noticed you didn.t lift the tunnel or put in place rails either side of the tunnel similar to EK auto .It may be a good idea to do this now so as you have trans/gearbox options later.Im enjoying watching the progress so keep the photos coming.
|
|
|
|
|
Logged
|
|
|
|
|


