Neil1958
Junior Member

 Offline Offline
Posts: 33
Located Bahrs Scrub, Queensland

|
 |
« on: March 05, 2010, 08:16:04 PM » |
0
|
OK Guys, Following on from my posts in the Restoration section... it's official I have the old girl home!!!! Picked her up this afternoon pics below. My first order of business is to buy a new nail brush, I forgot how much dirt gets under your nails  Second order is to give her a hit with the water blaster and strip the interior, carefully cataloging as I go. I am outstanding at pulling things apart, but crap at remembering how they went together I'll post as often as I can to keep all the information hungry members appeased. I will also be asking many gumby questions in the process. OK, thanks for reading. Neil Link to previous posts... http://fefcholden.org.au/forum/index.php/topic,17018.0.html 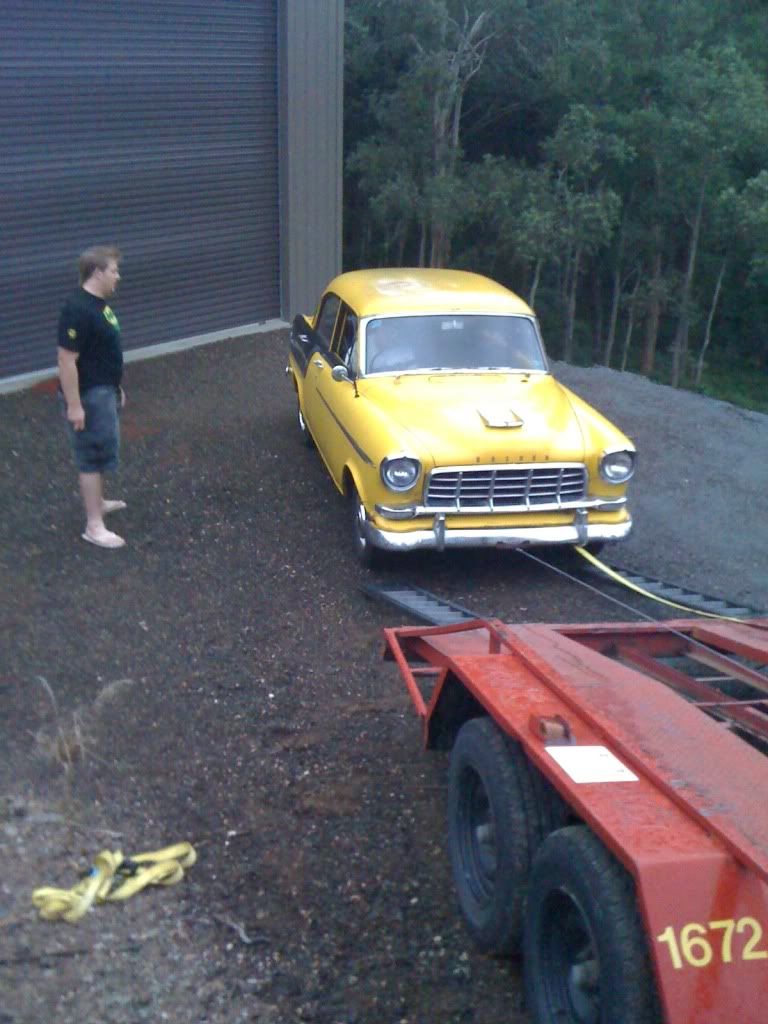 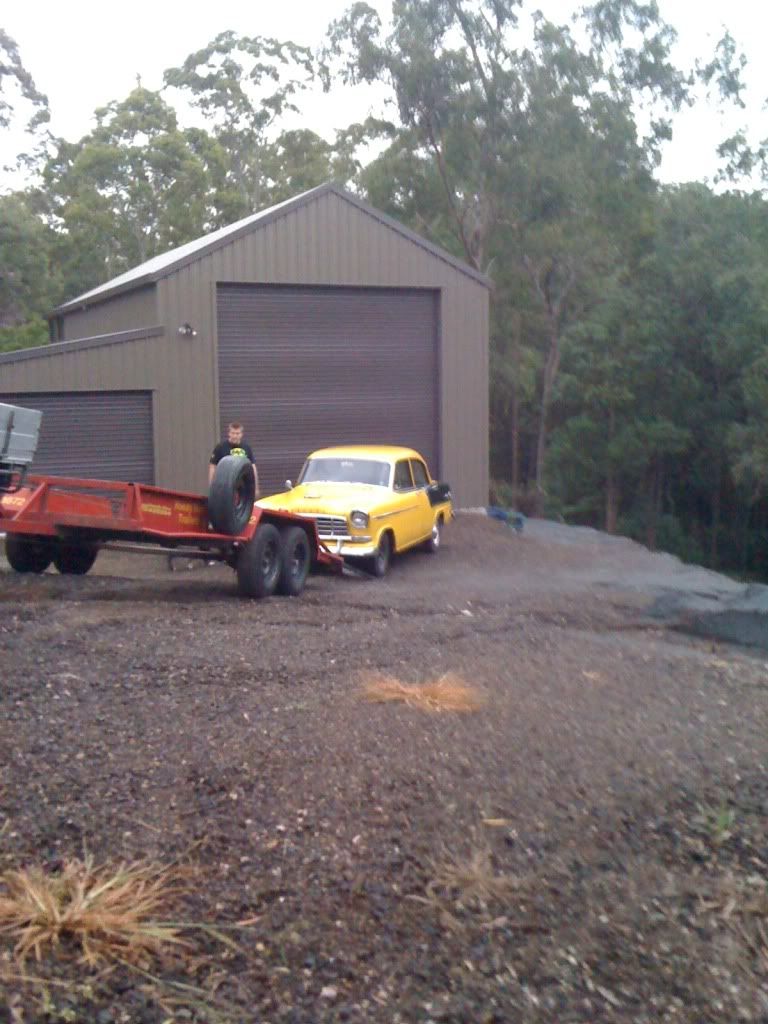 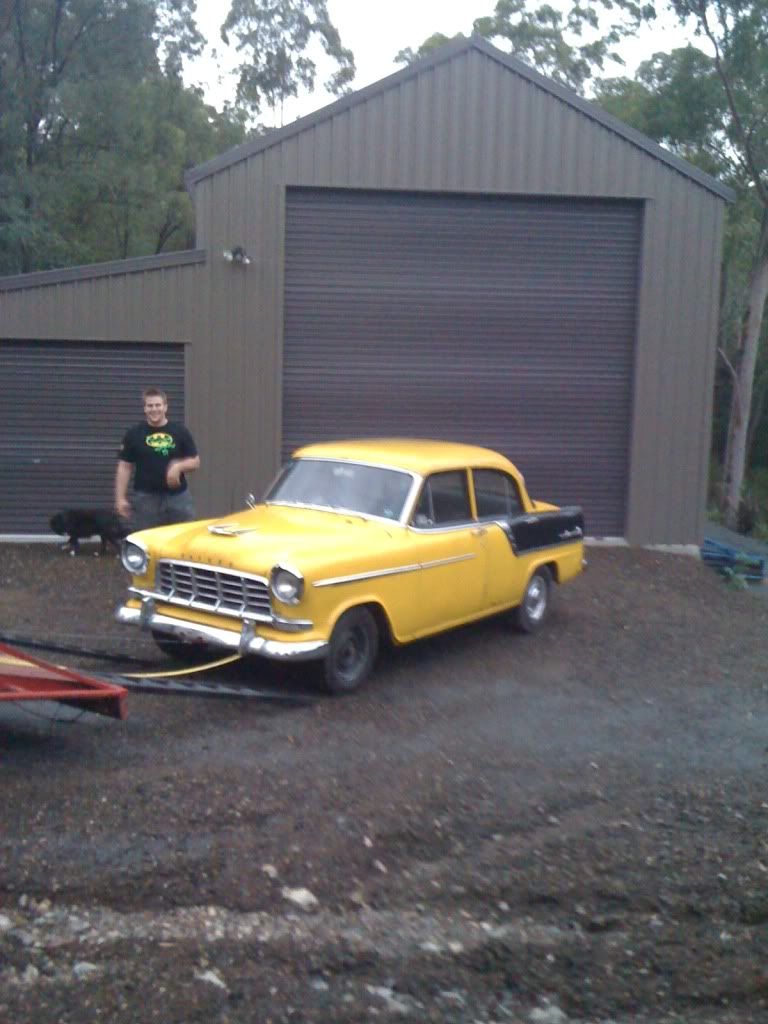 |
|
|
|
|
 Logged
|
|
|
|
Old_Mt_Isa_Boy
qld-club
Senior Member
Offline
Model: FC
Posts: 953
My Ute
|
 |
« Reply #1 on: March 05, 2010, 08:54:43 PM » |
0
|
Looks good from the outside. That rust can be gone in no time. Good luck Neil.
Regards
Wayne
|
|
|
|
|
Logged
|
|
|
|
Maco
nsw-club
Senior Member
Offline
Model: FC
Posts: 960
|
|
« Reply #2 on: March 05, 2010, 09:00:49 PM » |
0
|
Neil,
Love the shed I wished it was mine, good luck with the restro.
Cheers
John
|
|
|
|
|
Logged
|
Better in Green
|
|
|
Neil1958
Junior Member
Offline
Posts: 33
Located Bahrs Scrub, Queensland
|
|
« Reply #3 on: March 06, 2010, 08:33:17 PM » |
0
|
Day one of the restoration. 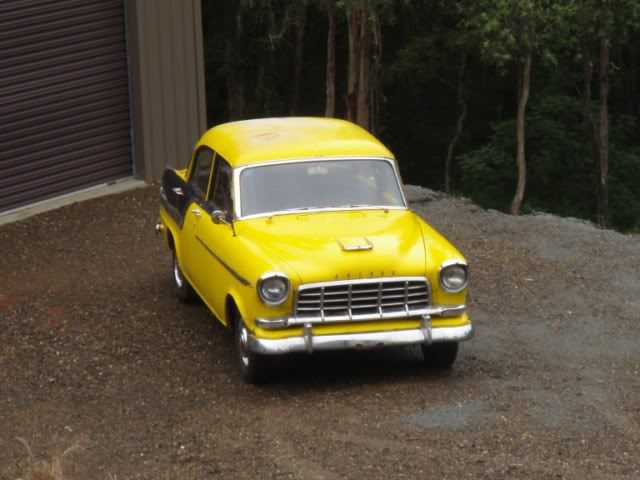 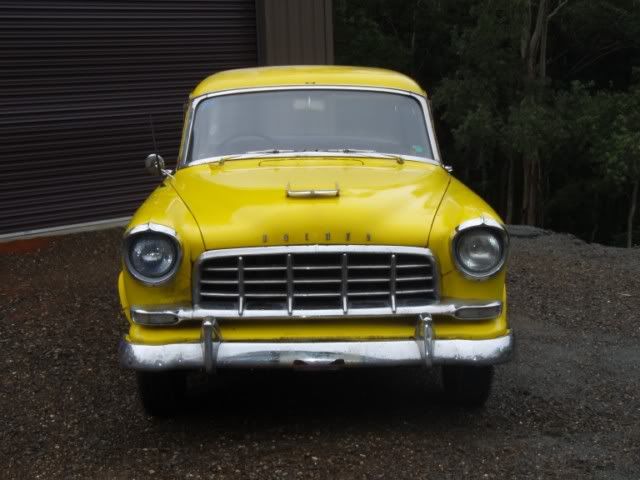 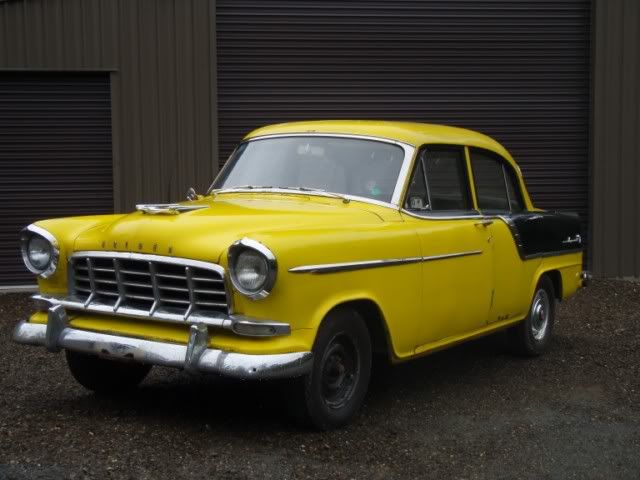 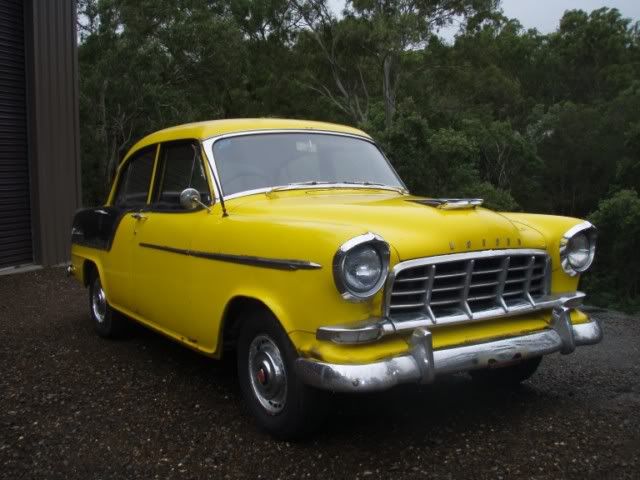 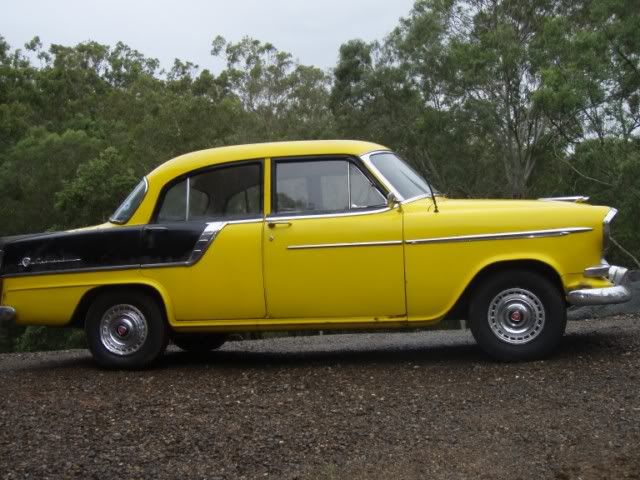 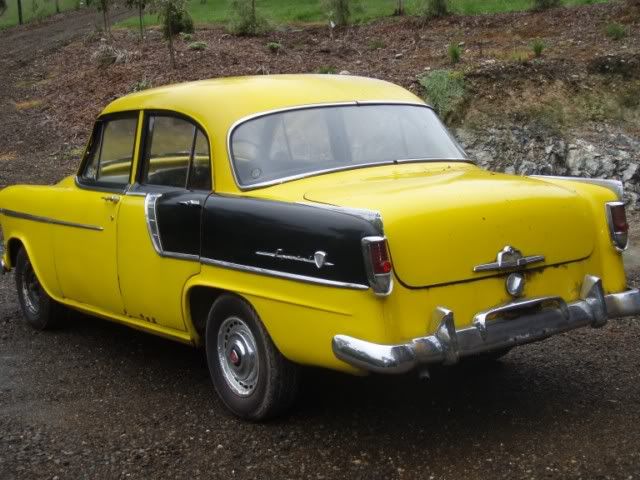 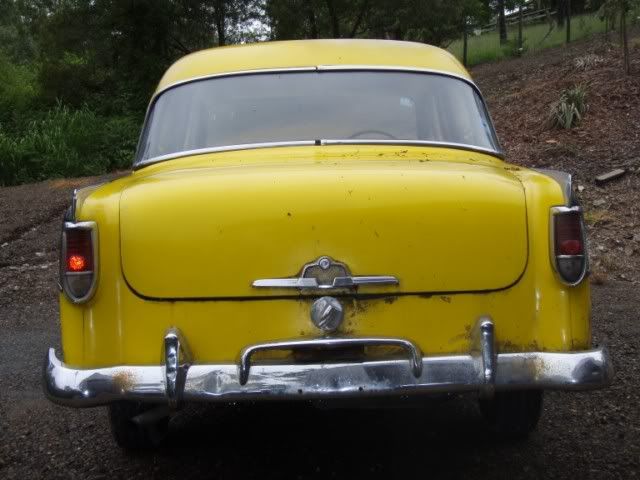 Had to clean up the shed to make the appropriate room for the old girl. Moved away all the woodworking stuff, gave it a good blow out and put down a tarp. 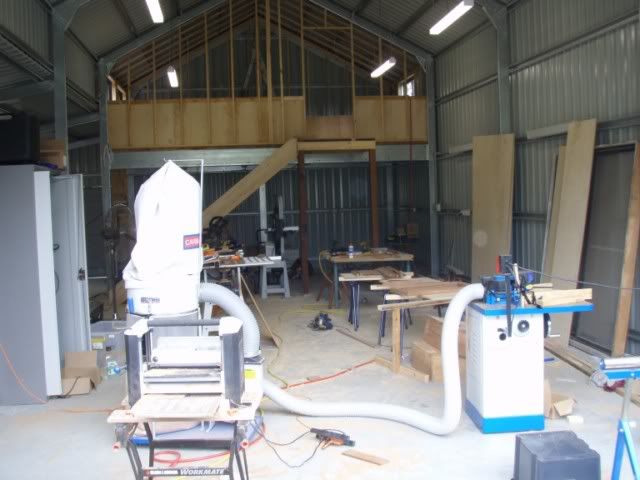 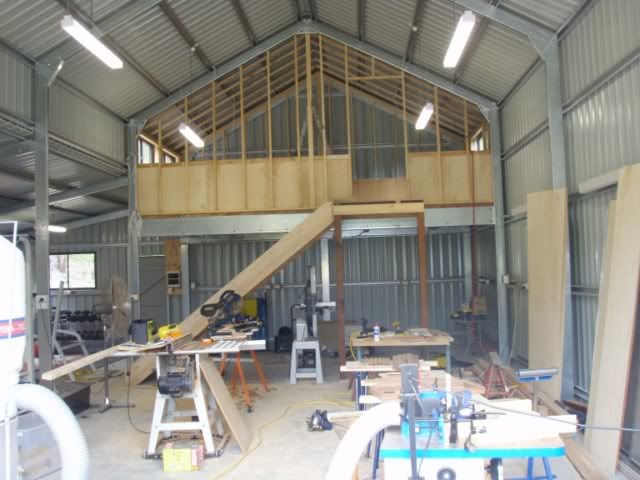 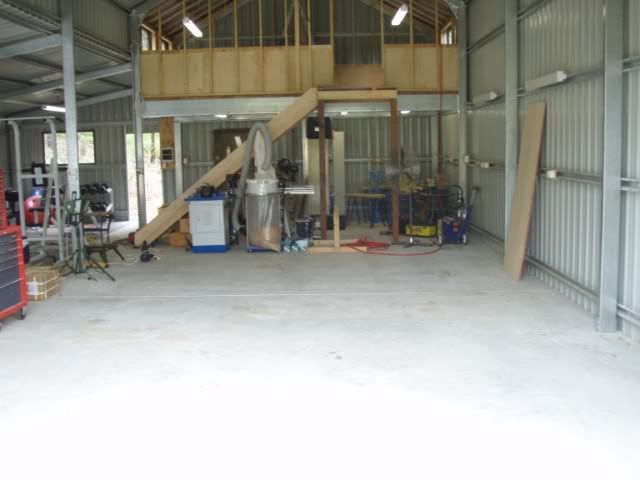 When we went to push the car into the shed it wouldnt budge, pushed, pulled, rocked and shook
no way no how was it going to move. As the previous owner took his battery back, and I didnt have one handy, it was off to Autobarn to do some father and son bonding. Picked up a battery, a couple of stands, a work light and a floor jack and floor trolley. Came back, threw the battery in and first kick it started and purred like a kitten
very impressed. Into reverse and she still wouldnt move, so gave it a few more revs and felt the front wheels let go and away she went
into the shed. 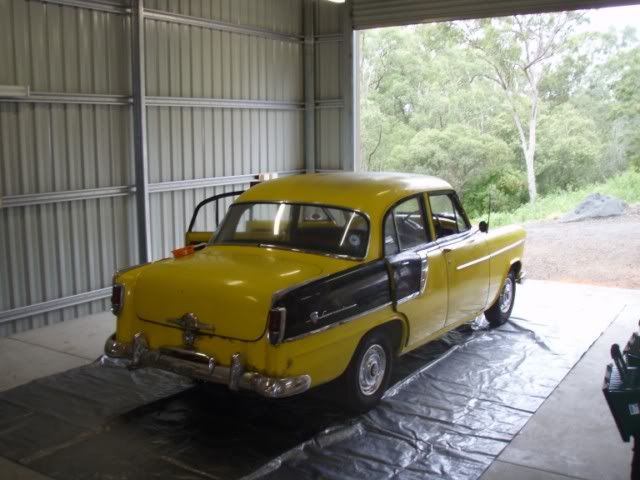 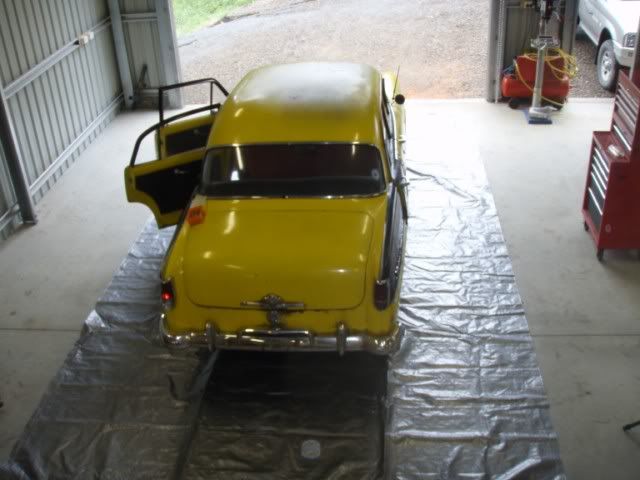 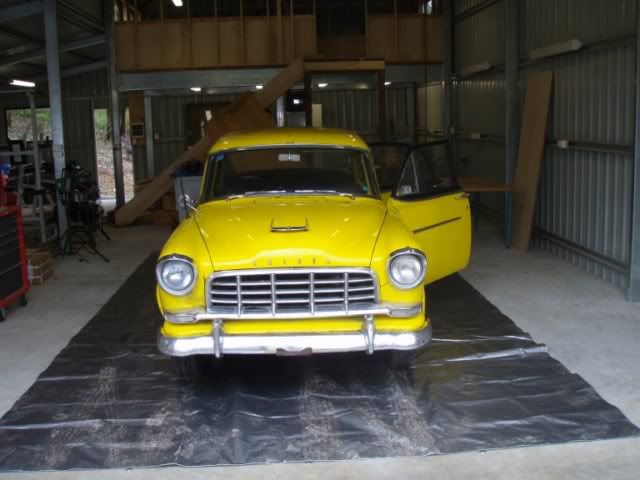 Started at the back and worked forward
seats, boot lid, rear bumper, rear doors (stripped down), front passenger door out and called it a day. Found some minor rust around the lower boot sill where the rubbers fit some in the wheel well of the rear guards. 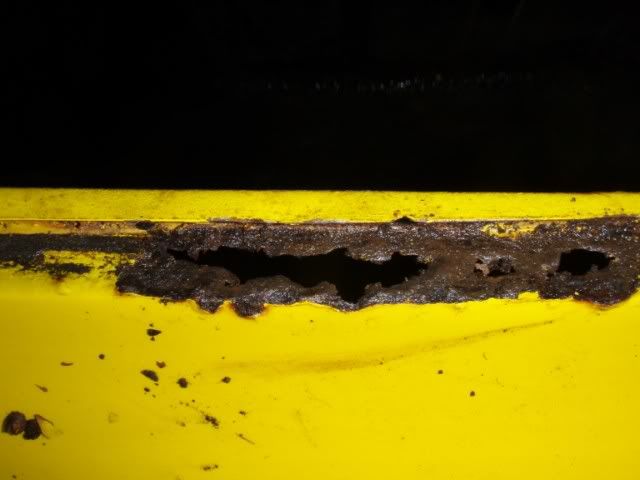 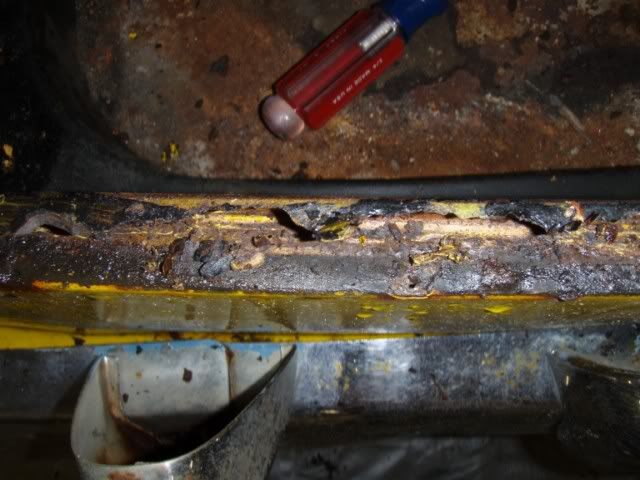 Just before heading inside I had a dig around in the front drivers pan and just where the cross member runs there is a ton of rust, but that was already known from the initial inspection so no surprises there. 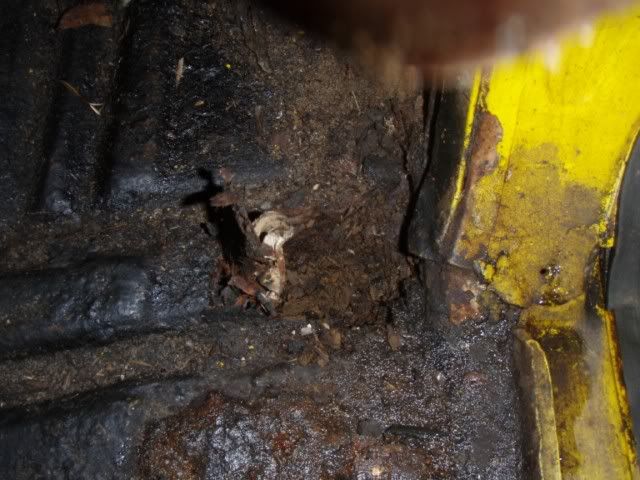 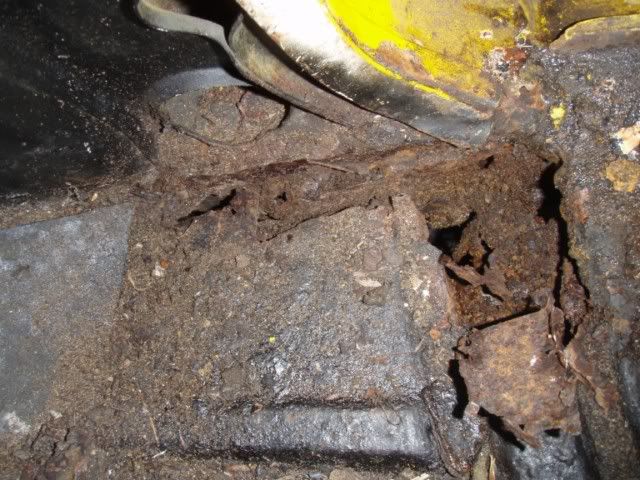 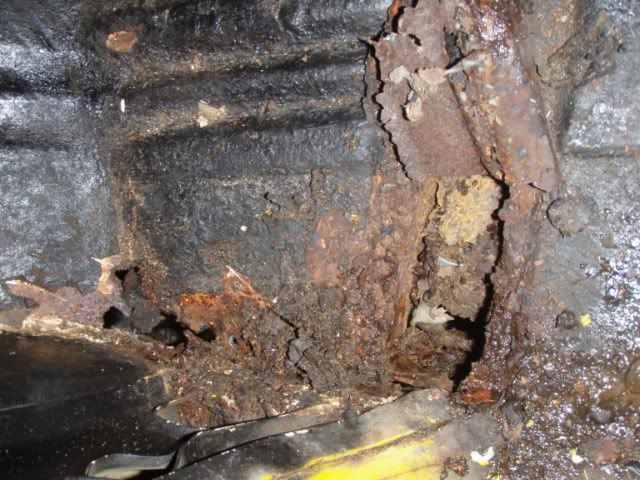 There is some in the top of the rear passenger door, and I am wondering if it is worth repairing or better to look for another door??? Thoughts?  The chrome strips are in good nick which is nice. Most of the window channels and mechanisms are rusted beyond reasonable, so will have to find some of those. All in all a great day
always fun pulling things apart. 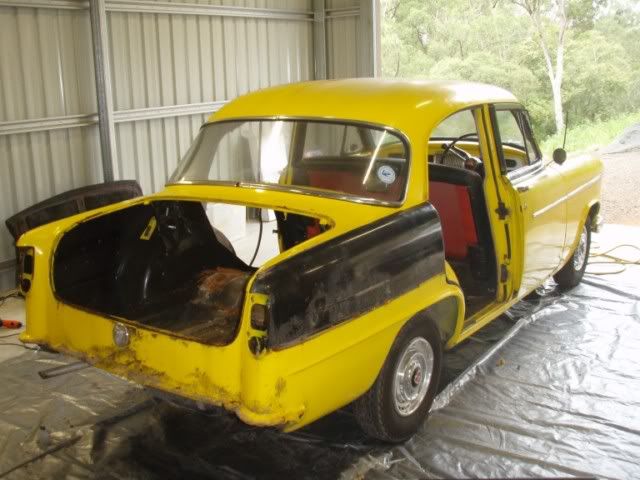 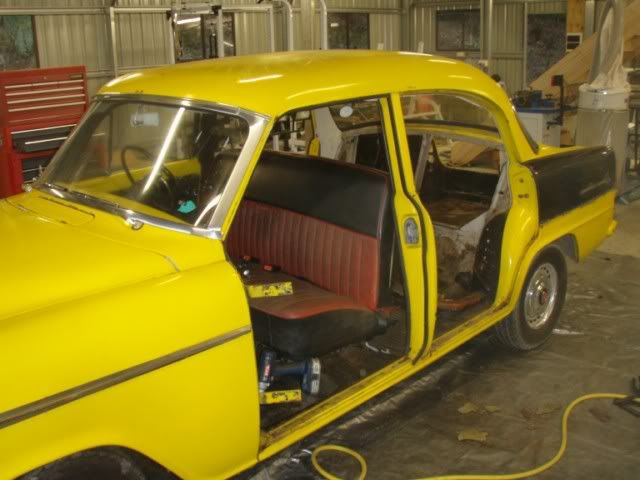  Tomorrow will be finishing the interior stripping, and then onto the front- bonnet, bumper, guards etc. Might get around to de-glassing it, will see how we go. OK, that is it so far
more later. Neil |
|
|
|
|
Logged
|
|
|
|
Gary C
wa-club
Senior Member
Offline
Model: FC
Posts: 348
|
|
« Reply #4 on: March 06, 2010, 11:03:11 PM » |
0
|
Take a heap of photos of small things Neil. They will come in handy when its going back together. Try to save door rubbers etc, you might find that parts of the old rubbers will come in handy when the repro stuff doesn't quite fit. Door belts ,things like that you may need old fasteners in the replacements. Dont just rip shit out,you may need it, oh yeah,good luck.
Gary
|
|
|
|
|
Logged
|
|
|
|
Neil1958
Junior Member
Offline
Posts: 33
Located Bahrs Scrub, Queensland
|
|
« Reply #5 on: March 07, 2010, 12:11:52 AM » |
0
|
Take a heap of photos of small things Neil. They will come in handy when its going back together. Try to save door rubbers etc, you might find that parts of the old rubbers will come in handy when the repro stuff doesn't quite fit. Door belts ,things like that you may need old fasteners in the replacements. Dont just rip shit out,you may need it, oh yeah,good luck.
Gary
Cheers Gary, Yep lots of pics, and all the bits are bagged and tagged. I have saved all the rubbers in as close to their original condition as I could... Appreciate the guidance. Neil |
|
|
|
|
Logged
|
|
|
|
Neil1958
Junior Member
Offline
Posts: 33
Located Bahrs Scrub, Queensland
|
|
« Reply #6 on: March 07, 2010, 06:48:55 PM » |
0
|
Restoration Day 2 A bit quieter today mainly finishing removal of the driver door, guards, grille etc. No new surprises. 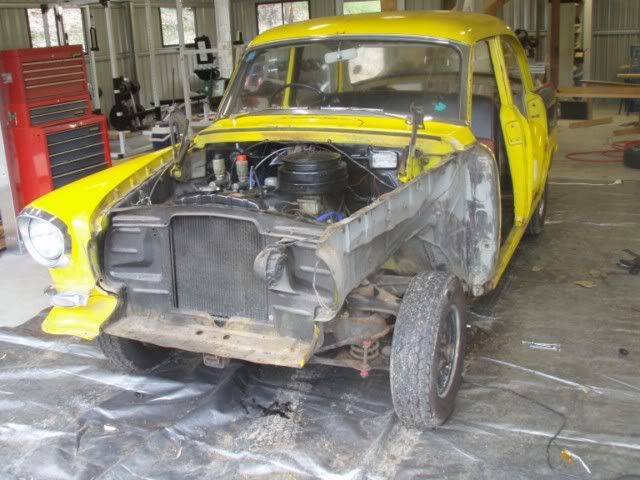 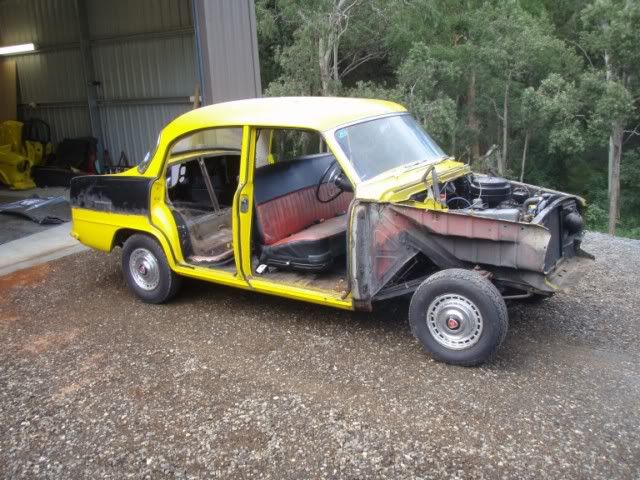 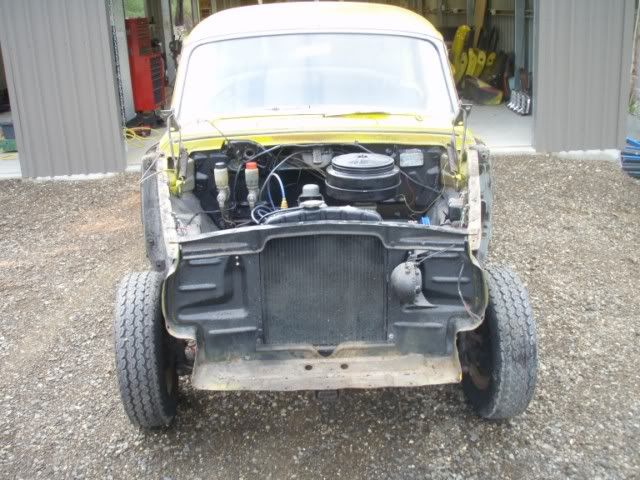 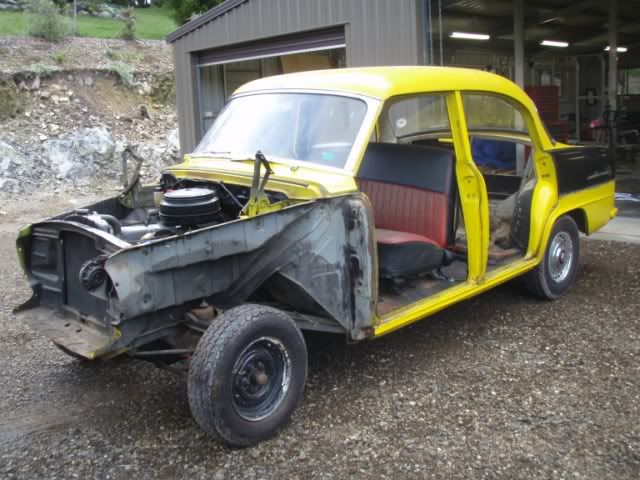 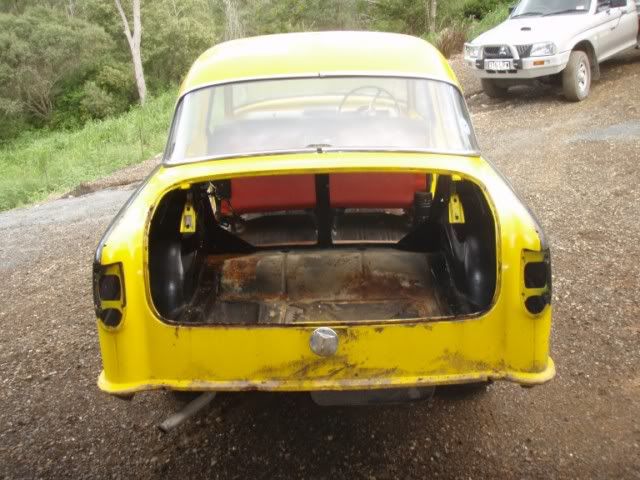 Unfortunately work will interfere with the work... so probably no more til the weekend. Cheers, Neil |
|
|
|
|
Logged
|
|
|
|
|
FC0058
|
|
« Reply #7 on: March 07, 2010, 10:49:27 PM » |
0
|
Aaaaah a shed one can only dream, one day it will happen.
Neil, keep up the good work.
Cheers Jim
|
|
|
|
|
Logged
|
Forgiveness is easier than permission.
|
|
|
|
fe-ambo
|
|
« Reply #8 on: March 08, 2010, 05:47:28 AM » |
0
|
Love the colour scheme. If you repaint it the same colour you need to put a taxi light on the roof to finish it off  Cheers Paul |
|
|
|
|
Logged
|
|
|
|
Neil1958
Junior Member
Offline
Posts: 33
Located Bahrs Scrub, Queensland
|
|
« Reply #9 on: March 08, 2010, 07:22:52 AM » |
0
|
Love the colour scheme. If you repaint it the same colour you need to put a taxi light on the roof to finish it off Cheers Paul Then we could go into business together... I can take the walking ones, and you can take the ones that can't Neil |
|
|
|
|
Logged
|
|
|
|
Neil1958
Junior Member
Offline
Posts: 33
Located Bahrs Scrub, Queensland
|
|
« Reply #10 on: March 08, 2010, 07:24:02 AM » |
0
|
Aaaaah a shed one can only dream, one day it will happen.
Neil, keep up the good work.
Cheers Jim
I only built the shed for the car Neil |
|
|
|
|
Logged
|
|
|
|
GOA350
vic-club
Senior Member
Offline
Posts: 489
FE's are great when they've got a V8
|
|
« Reply #11 on: March 08, 2010, 10:04:32 AM » |
0
|
G'day Neill, I would suggest to keep all the doors and have them repaired. If they fit now then they will fit again later. The chances of getting another door and getting it to fit like the old one, is normally very unlikely.
Cheers Scotty
|
|
|
|
|
Logged
|
|
|
|
Neil1958
Junior Member
Offline
Posts: 33
Located Bahrs Scrub, Queensland
|
|
« Reply #12 on: March 08, 2010, 10:08:42 AM » |
0
|
G'day Neill, I would suggest to keep all the doors and have them repaired. If they fit now then they will fit again later. The chances of getting another door and getting it to fit like the old one, is normally very unlikely.
Cheers Scotty
Thanks Scotty, that's the sort of feedback I need and very much appreciate... makes the path a little less fuzzy Cheers for that Neil |
|
|
|
|
Logged
|
|
|
|
Neil1958
Junior Member
Offline
Posts: 33
Located Bahrs Scrub, Queensland
|
|
« Reply #13 on: March 13, 2010, 09:09:16 PM » |
0
|
Day 3 of the restoration, well 1/2 a day really by the time I got going. Managed to get the engine out... took 1 hour 22 minutes.Didn't think that was too bad for someone who had never taken one out on his own. Went well 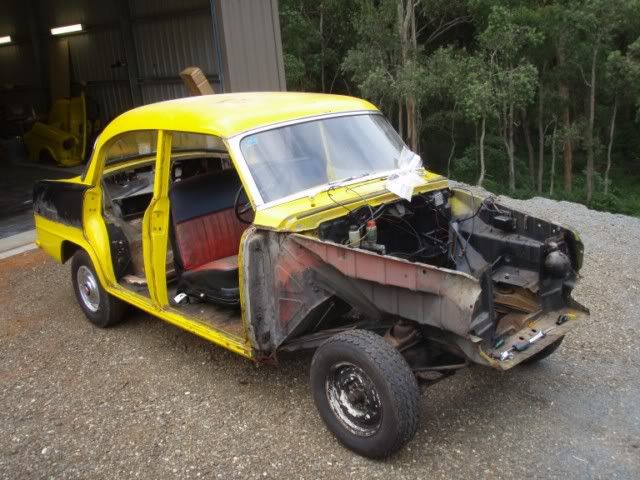 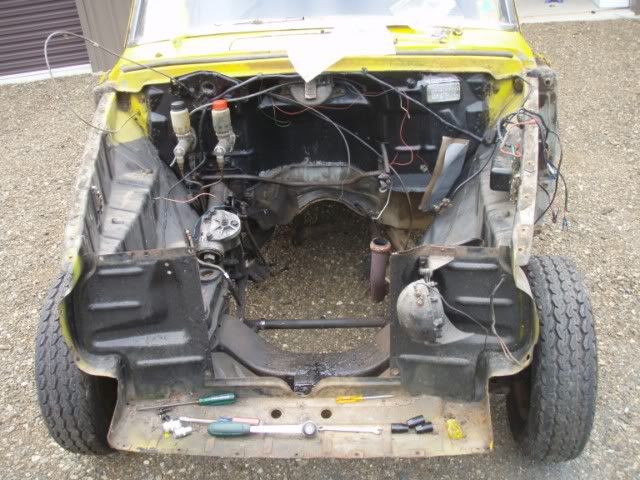 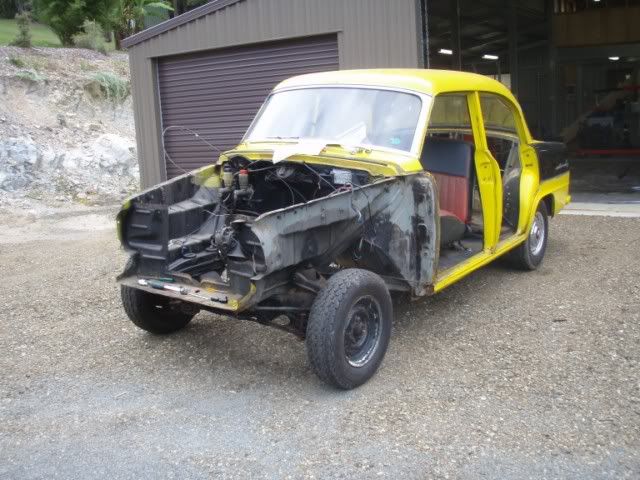 So much easier with a hoist.  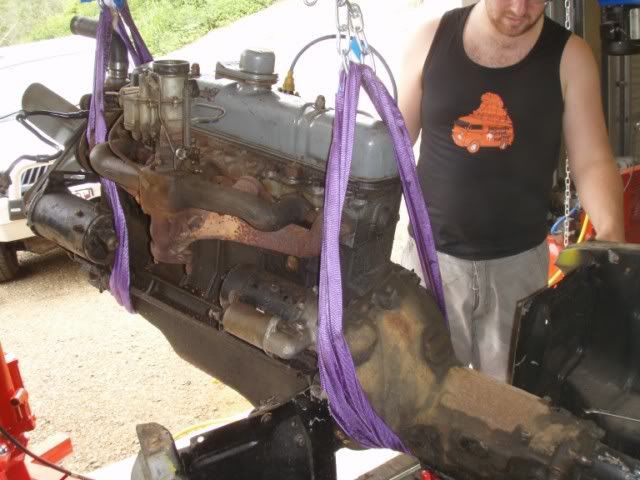  Decided to give the engine bay a bit of a degrease. As I did it answered a question I had about the original colour of the engine bay. It was painted black when I got it, but using the water blaster revealed the original colour was Graphite Grey, so happy with that. 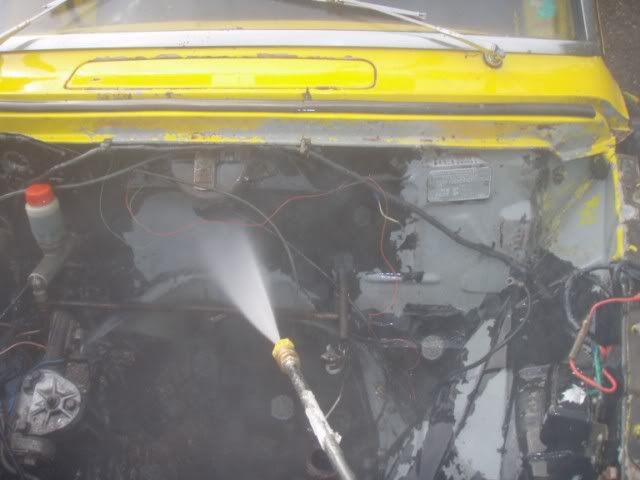 Also found the chassis number stamped on the drivers side front section. It was covered with the paint. Someone had tried to stampit above the ID Plate at some stage, and did a dodgy job. I could hardly read it, and realised that the number was FC 225-9336-S.On looking the first 3 had been stamped backwards, and the second 3 was stamped sideways, no wonder it was tough to read. 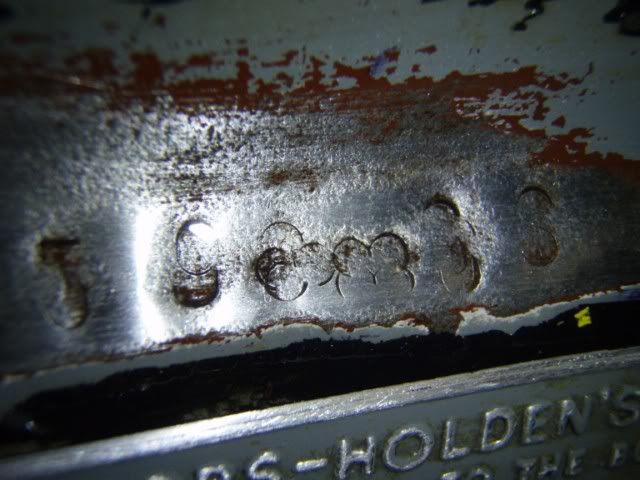 So tomorrow is finishing removing interior, and if time permits I might tackle the front end. Wish me luck... more later. Neil |
|
|
|
|
Logged
|
|
|
|
hrpremier
Full Member
Offline
Model: other Holden
Posts: 205
Jason

|
|
« Reply #14 on: March 13, 2010, 09:26:15 PM » |
0
|
Good Luck  |
|
|
|
|
Logged
|
|
|
|
|
TTV6FC
|
|
« Reply #15 on: March 13, 2010, 09:36:05 PM » |
0
|
Good luck and Go the Tigers!...Yeah lame joke.I love looking at disassembly pics cause this is the easy part.All the rust pictures are pretty normal but not quite as bad as what some have faced (me)...Keep up the photos.I'm hoping to paint in the next few days...Wish ME luck... |
|
|
|
|
Logged
|
Run your fingers over my Holden and I'll run my Holden over your fingers!!!!
|
|
|
Old_Mt_Isa_Boy
qld-club
Senior Member
Offline
Model: FC
Posts: 953
My Ute
|
|
« Reply #16 on: March 13, 2010, 09:36:59 PM » |
0
|
Nice progress Neil.
Regards Wayne
|
|
|
|
|
Logged
|
|
|
|
|
EffCee
|
|
« Reply #17 on: March 13, 2010, 10:25:55 PM » |
0
|
You are making good progress there Neil. Much better to be pulling at all apart yourself so that you can label everything as you pull it apart.
Looks like the bloke that stamped the body number on the inner guard wasn't having a good day
Keith
|
|
|
|
|
Logged
|
Canberra, ACT F4+  |
|
|
Neil1958
Junior Member
Offline
Posts: 33
Located Bahrs Scrub, Queensland
|
|
« Reply #18 on: March 13, 2010, 11:07:49 PM » |
0
|
Good luck and Go the Tigers!...Yeah lame joke.I love looking at disassembly pics cause this is the easy part.All the rust pictures are pretty normal but not quite as bad as what some have faced (me)...Keep up the photos.I'm hoping to paint in the next few days...Wish ME luck... yep, good luck... I hope the weather is kind to you N |
|
|
|
|
Logged
|
|
|
|
|
mcl1959
|
|
« Reply #19 on: March 14, 2010, 08:14:54 PM » |
0
|
Neil - It's still not the chassis number!!
This looks like a previous owners attempt to stamp the body number above the plate.
look carefully along the skirt on the driver's side near the wiring loom now you have pressure washed it.
Ken
|
|
|
|
|
Logged
|
|
|
|
|


