Hey, it's only taken five months to get around to fixing the cylinder head . . .
I decided to have another go at finding out where the leak was coming from: fill the radiator up full with water, take the rocker cover off, loosen the locknuts on the exhaust rockers, start the engine, and then one cylinder at at time, tighten the adjuster until the exhaust valve is held well and truly off the seat. Hopefully when I do this, on the "bad" cylinder, the bubbles will stop coming out of the radiator.
Wrong. This test was splendidly inconclusive, so there was only one thing to do: remove cylinder head. And on the head gasket I found the marks of two big leaks - the first between No.2, No.3 and the water passage; and the second between No.4, No.5 and the water passage. So I had four leaky cylinders, which was why isolating one at a time wasn't going to show anything up. But the good news was - the head wasn't cracked, it was "only" a leaking head gasket, caused by incredibly crappily machined mating faces.
I then had an attempt at fixing the problem in-situ. The joy of lifting a cylinder head out of the engine bay fades after the first attempt, and I lost a weekend stuffing around.
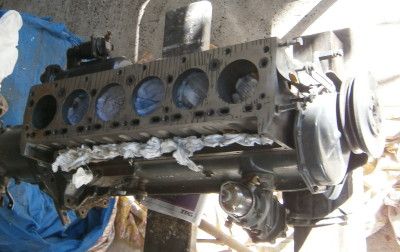
October Long Weekend. Remove engine and transmission from vehicle, and set to work. The wise approach would be to strip the head, strip the block, send them both off to be machined flat, and rebuild. I am not wise. I figured that with two full days I'd have a half-way decent chance of matching the two surfaces.

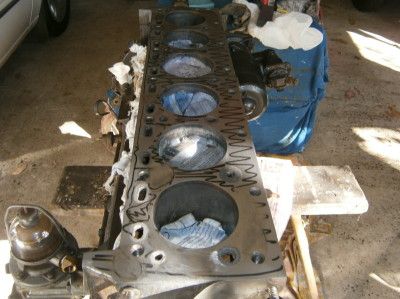
Instead of bearing blue, I drew a cross-hatch pattern on the block with a Texta, laid the head on the block and rubbed the head back and forth a bit. The areas which make contact rub the Texta marks out. I bought a new oilstone, and set to work on the high spots. Not much happened. My father made a sort of sanding float out of a flat piece of 3/4 plywood, with some 60 grit al-ox paper contact-cemented to it. Slowly the contact patches between head and block grew, but oh, so slow . . .


Time for the heavy artillery.
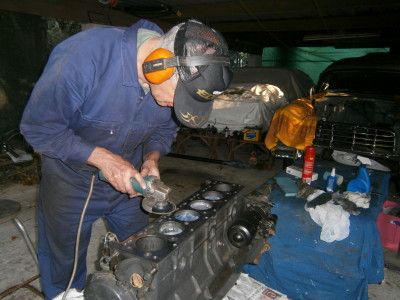
Warning: Do Not Attempt This At Home.Angle grinder, with a backing pad, and a new 120 grit sanding disc. A single, very light pass over the high spots, followed by a minute's work with the oilstone, and the sanding marks are removed.

Clean surfaces. Mark block with Texta. Apply cylinder head. Observe contact marks. Gauge both surfaces with a straightedge to keep faces reasonably flat. Repeat many times over.
I really didn't want my father to take this photo. "I'll become the laughing-stock of the Forum", I said.
Finally I achieve contact all over, including the gaps between 2 and 3, and 4 and 5.
A new (old-stock) head gasket, and I set the motor up on stands, and started it. Success! No bubbles out the radiator.
While the rest of the country was glued to the screen watching Whincup win, I was doing my patriotic duty assembling a grey motor, test-running it, and putting it back in the car.
Phew.


