FE-FC Holden Discussion Forum
May 11, 2024, 08:42:48 PM *
Welcome, Guest. Please login or register.

Login with username, password and session length
News: The FE-FC Holden Car Club of NSW are proud to host the 19th FE-FC Holden Nationals. Check out the announcement video for more.
 
   Home   Help Search Calendar Login Register  
Pages: 1 [2]   Go Down
  Add bookmark  |  Print  
Author Topic: Door Handles  (Read 11434 times)
matty martin
Junior Member
**
Offline Offline

Posts: 27

matty martin


View Profile
« Reply #20 on: December 07, 2007, 08:51:28 AM »
0

awesome... thanks ed,


i'll give you a call sunday10ish...


matty martin
Logged

go the wagons
NO NAME
Senior Member
****
Offline Offline

Posts: 781


I love YaBB 1G - SP1!


View Profile
« Reply #21 on: December 07, 2007, 06:30:29 PM »
0

yor onto the right man marty, i picked out Eds brains before starting mine.
Logged

matty martin
Junior Member
**
Offline Offline

Posts: 27

matty martin


View Profile
« Reply #22 on: December 08, 2007, 06:30:39 AM »
0

hey fccool,

yeah ed has been very accomodating & i'm stoked that there is some like this near where i live...

thank you also for your responses.... hey where are you located.


thanks
matty martin
Logged

go the wagons
Ed
Guru
*****
Offline Offline

Model: FE
Posts: 3311


Ed74mnd
View Profile
« Reply #23 on: December 14, 2007, 01:54:29 PM »
0

Door button fit up using a Paul Kelly "Smooth Cruizin'" kit.

1) you start with a door, and there is a raised ridge where the handle sits.  You need to tap this down.
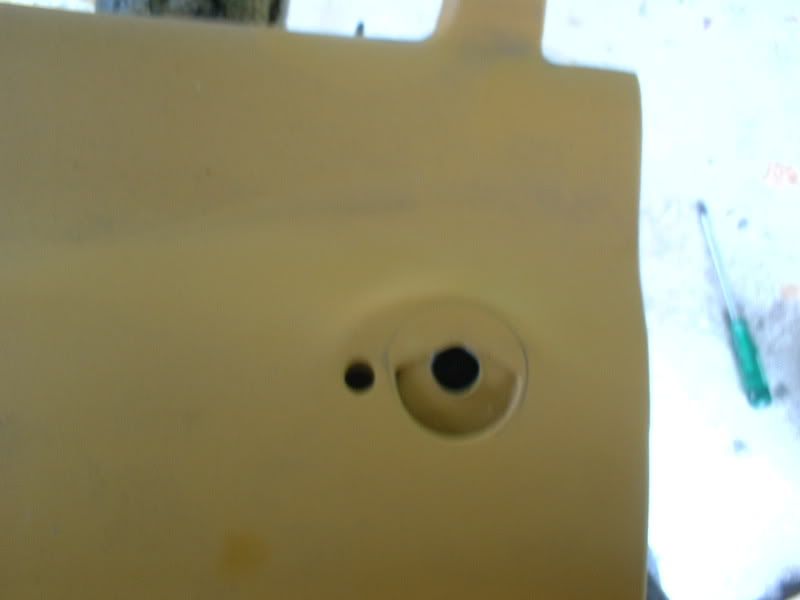
profile before shot


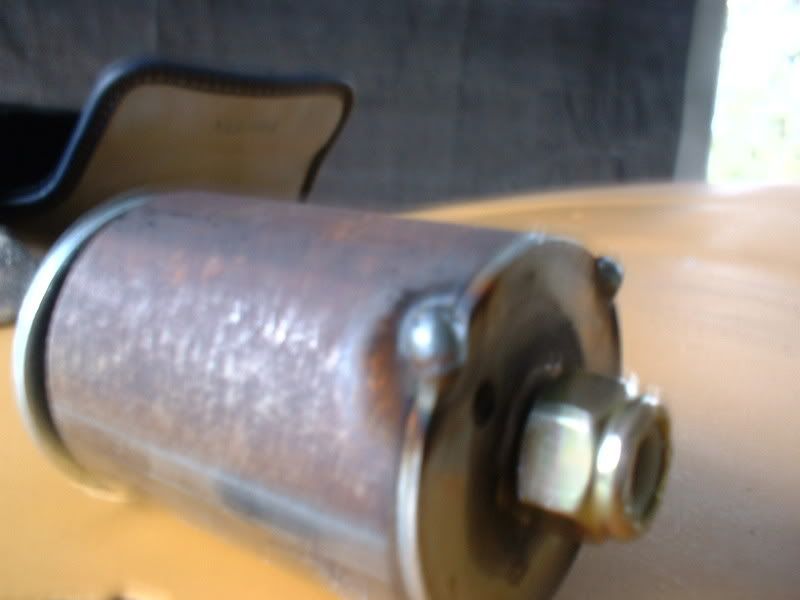
2) door buttons are made in two parts.  the "bucket" which sits in the door and the button which is.. the button.
pic of the bucket tacked together. Note it is not trimmed yet and the inner guide tube has been held in place using the nut and bolt.


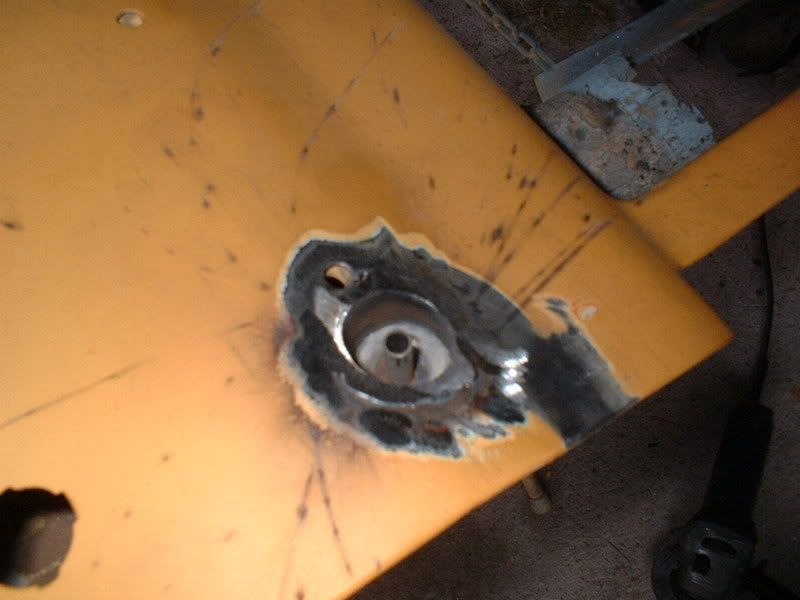
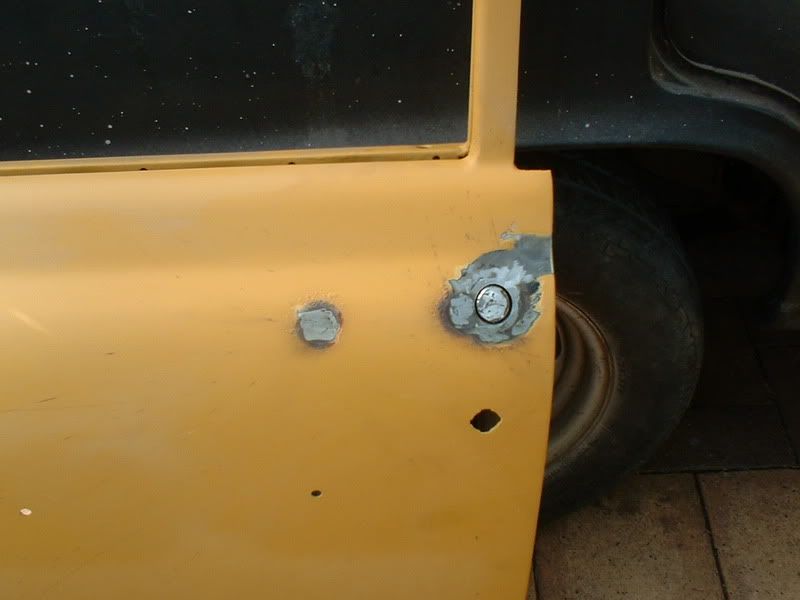
3)Bucket sunk in to the panel and trimmed to the profile of the panel.  Note the inner guide tube has not been trimmed down yet.  do it later using a large drill bit in a drill... obviously.


4)make your button.  sit the tube in the bucket, scribe the profile onto the tube and then weld the button top on.  the desired length/ height of hte button is achieved by grinding down later.


5) the bolt is then placed thru the button and cut to length and welded to the button.
make sure you have as little threaded section as possible.  the threaded section causees the button to have a rough action whcih can stick.. ask me how i found out...


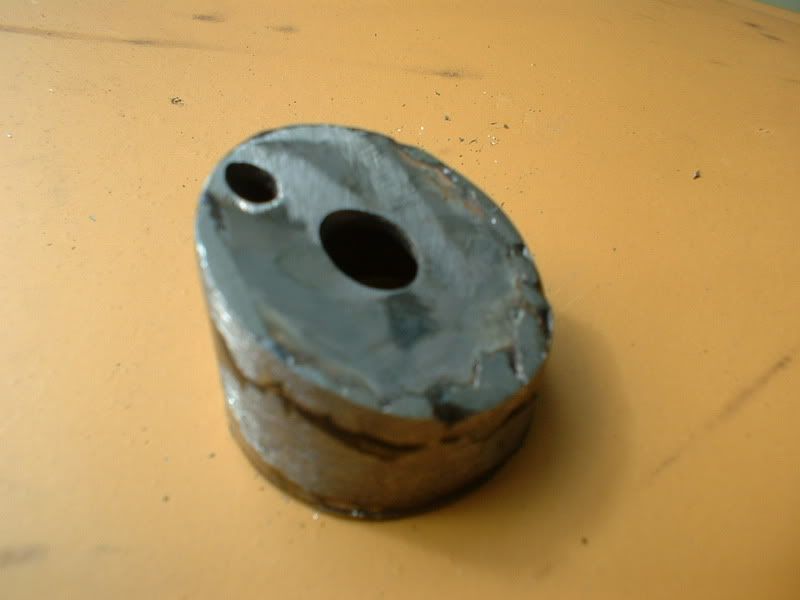
6)  after futzing about for many hours getting all your clearnces right you should have something that looks like this (or better).


voila! buttons.

Cheers

Ed


Logged

in the shed
matty martin
Junior Member
**
Offline Offline

Posts: 27

matty martin


View Profile
« Reply #24 on: January 02, 2008, 07:30:40 AM »
0

hey ed,

thanks for posting the pics, i'm trying to get the buttons from smooth customs now... just waiting...


when  we talked before you were talking about the drainage you put in for the buttons. was this in the instructions supplied (as i have been told by a few people that the instructions are very good & easy to follow), or is this some thing that you thought up youself...

thanks
matt
Logged

go the wagons
utey
Full Member
***
Offline Offline

Posts: 115


I love YaBB 1G - SP1!


View Profile
« Reply #25 on: January 02, 2008, 06:27:24 PM »
0

Forget the buttons and try this


http://www.disappearing-car-door.com/

Nick
Logged

If it was easy would it be so much fun!
customFC
nsw-club
Guru
*****
Offline Offline

Model: FC
Posts: 5895


Ask me about microwaving cats for fun or profit.


View Profile
« Reply #26 on: January 02, 2008, 09:12:46 PM »
0

Hey Utey
Thats a spin out (pun intended)
Regards
Alex
Logged

matty martin
Junior Member
**
Offline Offline

Posts: 27

matty martin


View Profile
« Reply #27 on: January 27, 2008, 06:06:02 AM »
0

hey ed

mate i got my buttons yesterday so i a LITTLE excited... i was wondering if you had some pics of the drainage set up that you made...

and does it work... as mine is going to be a daily driver it needs to functionable...

thanks ed

matty martin
Logged

go the wagons
Pages: 1 [2]   Go Up
  Add bookmark  |  Print  

Share this topic...
In a forum (BBCode) 
In a site/blog (HTML)

 
Jump to:  

Powered by MySQL Powered by PHP Powered by SMF 1.1.21 | SMF © 2015, Simple Machines Valid XHTML 1.0! Valid CSS!
Page created in 0.031 seconds with 19 queries.